Vicki Pettit from St Andrew’s College wanted an authentic 3d printing experience so she picked up the lessons from Weareprintlab.com and started on the sand timer experiment.
The goal was to give the kids something tangible to wrap their numeracy skills around and they were challenged to 3d print the sand timer and then make it run for 3,4,5,6 minutes using experimentation and estimation.
If you want to get started with PrintLab, grab the free exercises and get started. They're some of the most fun and engaging 3d printing lessons I've seen around and they have solid learning outcomes for the kids.
Here's Vicki's notes from the workshop
1.The starting point for me was finding an authentic reason and purpose for incorporating 3D printing within our Year 8 mathematics class.
2.Coincidentally we were starting a new programme called Club 100 aimed at improving students’ basic facts in mathematics. Students move up through levels and this is displayed on a poster in class. I decided to have the students design and print their initials in tinkercad and this would serve as a token to move up the levels.
3.This served as a beginning and simple task to learn the software.
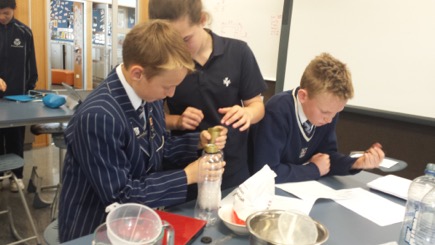
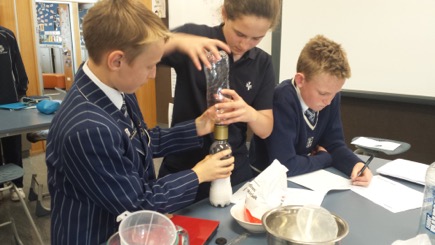
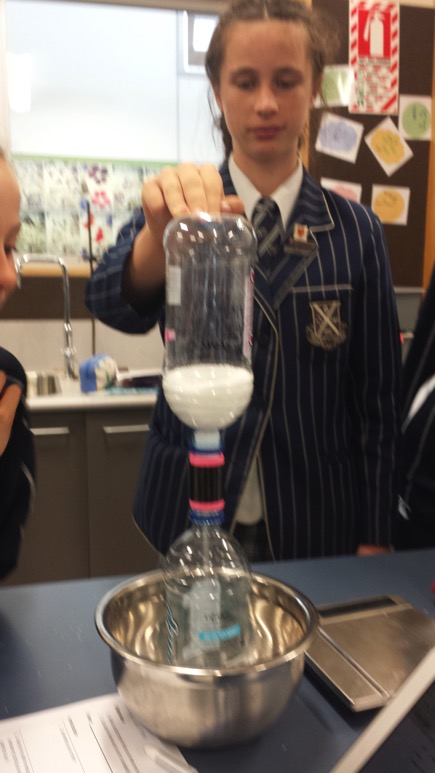
4.Found and downloaded lesson on salt timer from Printlab.
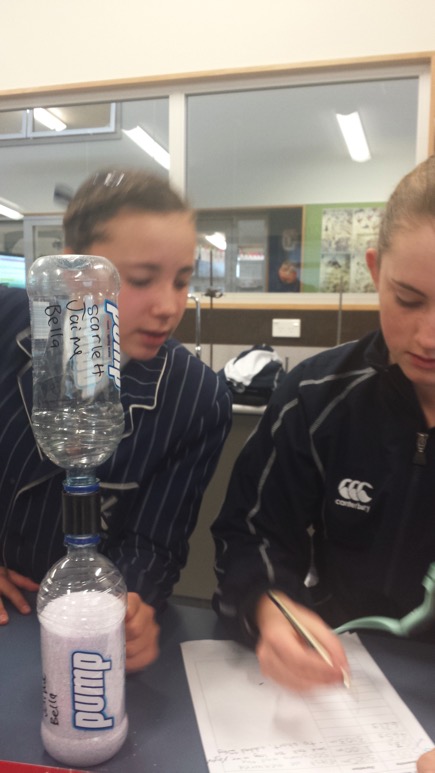
5.First print run determined that the files were not the right size for our bottles. So I shared the files with the class on OneDrive and the students set to work in groups adjusting and printing bottle caps to fit two different size bottles. Photo. Powerade and Pump
6.We discussed how to change to scale – holding down shift in tinkercad. Measured and documented each prototype and what needed changing. Next time I would ask students to rename files or number files to avoid reprinting the same file twice.
7.Next came the sleeve to fit over the top – the same process followed as above - also needed resizing.
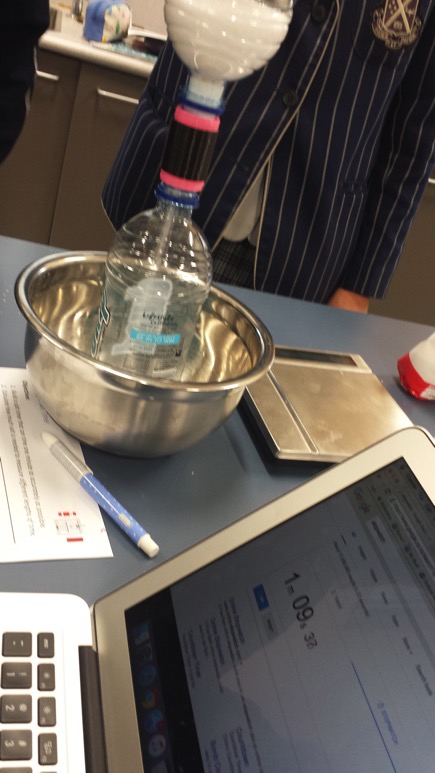
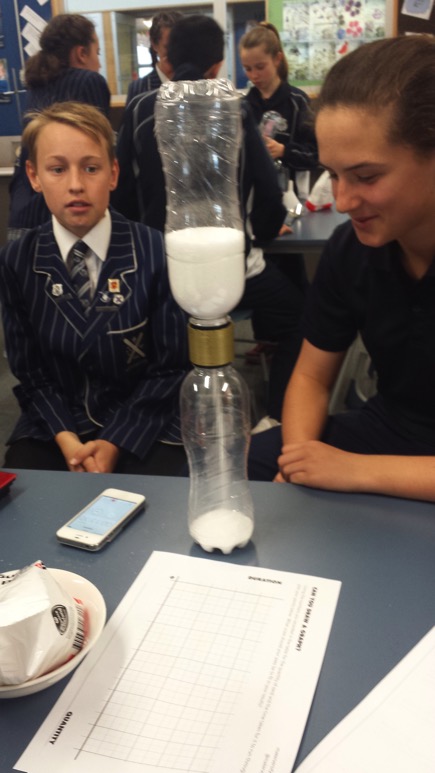
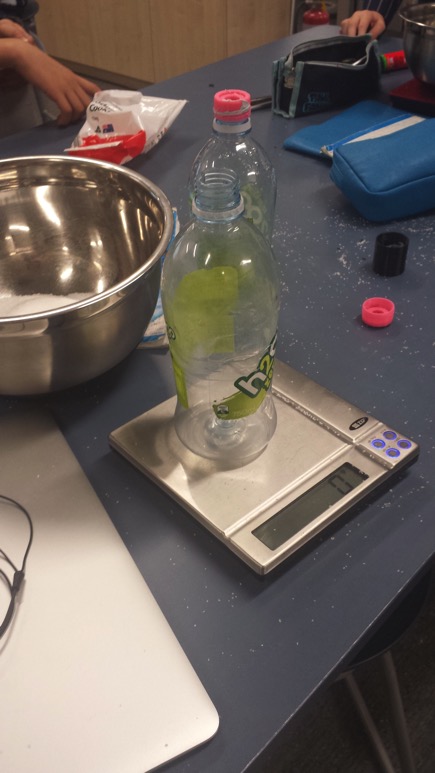
8.Once we had the sizing correct we set to printing enough copies for each group to have a set. Then students got underway with measuring the salt, assembling in the timer, timing and adjusting.
9.Once students had succeeded in making a 1 minute timer, the challenge was to adjust for the following times: 3, 4, 5, 6 all for use in our Club 100 maintenance work.
Visit PrintLab to get your own free lessons for your classroom