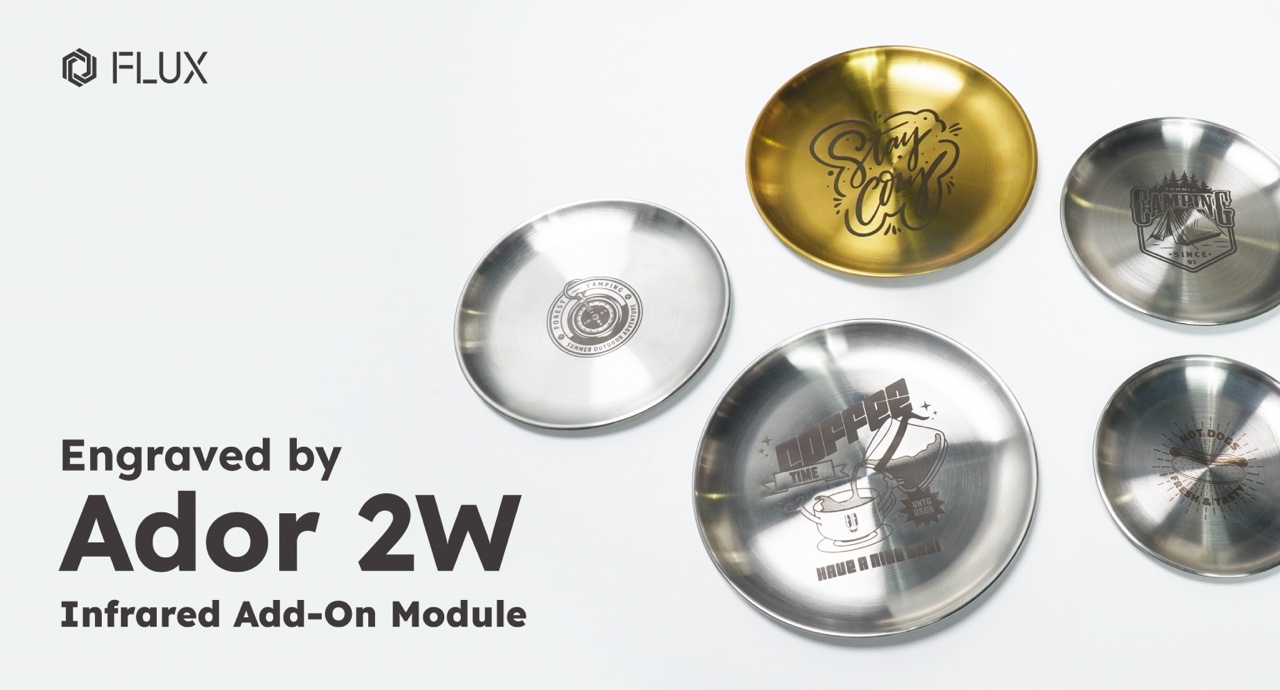
Unlock the full potential of your Flux Ador's laser cutting abilities with the powerful 2W Infrared Laser Module. This add-on seamlessly integrates with your Flux Ador 3-in-1 laser cutter, enhancing it with precision metal engraving capabilities. Experience intricate metalworking like never before and elevate your creative projects with the Flux Ador 2W Infrared Laser Module.
Metal Engraving: 4 Simple Steps
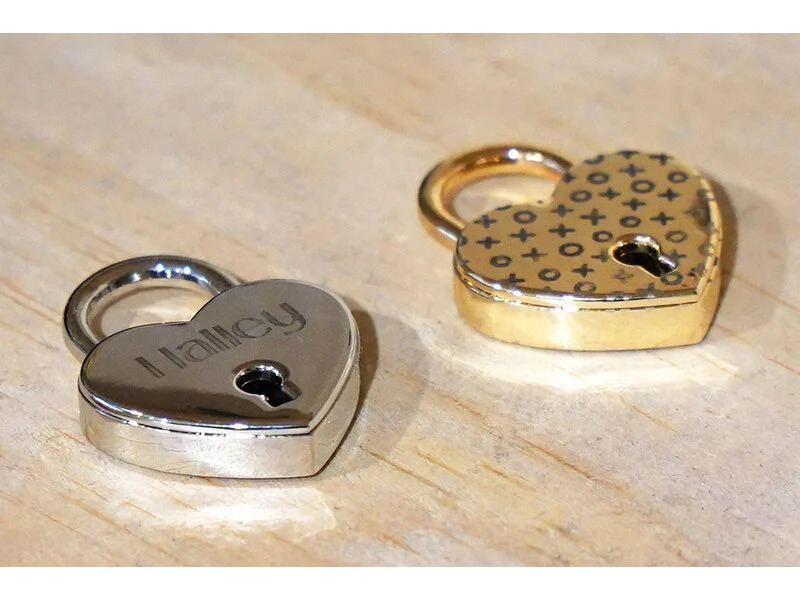
To illustrate the functioning of the infrared laser add-on, we’ll take stainless steel as a practical example. This will guide you through the process and help you understand how the infrared laser add-on operates. Follow these steps to gain a clearer insight into its workings.
Step 1 : Infrared Module Calibration
Whenever you’re using an Ador module for the first time, or if the machine has been moved, or you notice a mismatch between the camera’s preview and the actual position of the engraving, it’s essential to perform Camera Calibration. For detailed instructions on how to carry out the Camera Calibration, please refer to the step-by-step guide available in the Help Center.
Step 2 : Place Material & Auto Focus
Ador features an expansive workspace measuring 430mm x 300mm, with a depth of 30mm, providing ample room to broaden your creative scope. Ensure that your materials do not exceed these dimensions. Additionally, for lighter materials, it’s advisable to use paper tape for stabilization to prevent them from being displaced by the airflow from the air assist during the operation of the infrared module. Afterward, long click the AF button to focus the material.
Step 3 - Camera Preview
Ador comes with an 8MP high-resolution camera, enabling you to quickly preview your materials with just one click. Once you’ve previewed your materials, position your image on them. The infrared module will then precisely print on the area where you’ve placed your image.
Step 4 : Parameter Setting & Start Engraving
After previewing the material, position your design file on the preferred area of the material. Beam Studio’s sidebar allows you to adjust gradients and curves to your liking. Once you’ve made these modifications, just hit ‘Start’ to send the file to the machine. The camera preview of metallic materials might cause reflections, making it difficult to align the material properly. In this case, select the layer where your image file is located in the right-hand workspace’s ‘layer’ section, and choose a brighter color. This will help in achieving more precise and efficient alignment of your image file.