MindKits support guide | Updated 10 August 2026
Blob of death on a 3D printer: what to do when filament builds up around the hotend
Applies to:Bambu A seriesBambu X&P seriesBambu H seriesTopics:Blob of deathHotendNozzlePrint adhesion
A "blob of death" is a solidified lump of filament that wraps itself around the nozzle, heater block and/or the front of the printhead. Most of the cases we see at MindKits start the same way: a printed part comes loose from the build plate, the printer keeps extruding into thin air, and the plastic collects on the hot metal instead of on the build plate. That is the most common path, but it is not the only one. Hotend leakage and damaged components can also let material escape and build up. It happens on every make of 3D printer, so it is not tied to one brand of machine or filament.
The important part is what you do next. MindKits technician note: In machines we have assessed, avoidable extra damage has often happened during clean-up rather than during the failed print. Pulling a cold blob off by force, or attacking it with a heat gun, can tear wiring out of the heating assembly and turn a tidy hour of cleaning into various part replacements. This guide walks through the low-risk order of work, tells you where to stop, and explains how to keep it from happening again.
Which printers this applies to
We have seen this on all desktop FDM printers including older open-frame and enclosed machines. The failure mode is generic to fused filament printing, so the general approach here applies broadly. Anything model-specific, such as how you access the printhead cover or which heating menu to use, must come from the official documentation for your exact machine.
Symptoms you will notice
- A large hard mass of filament wrapped around the nozzle, heater block and possibly the front of the printhead, sometimes the size of a golf ball or larger.
- The print looks like it stopped producing anything useful partway through, and a detached part is rattling around inside the machine or stuck to the underside of the printhead.
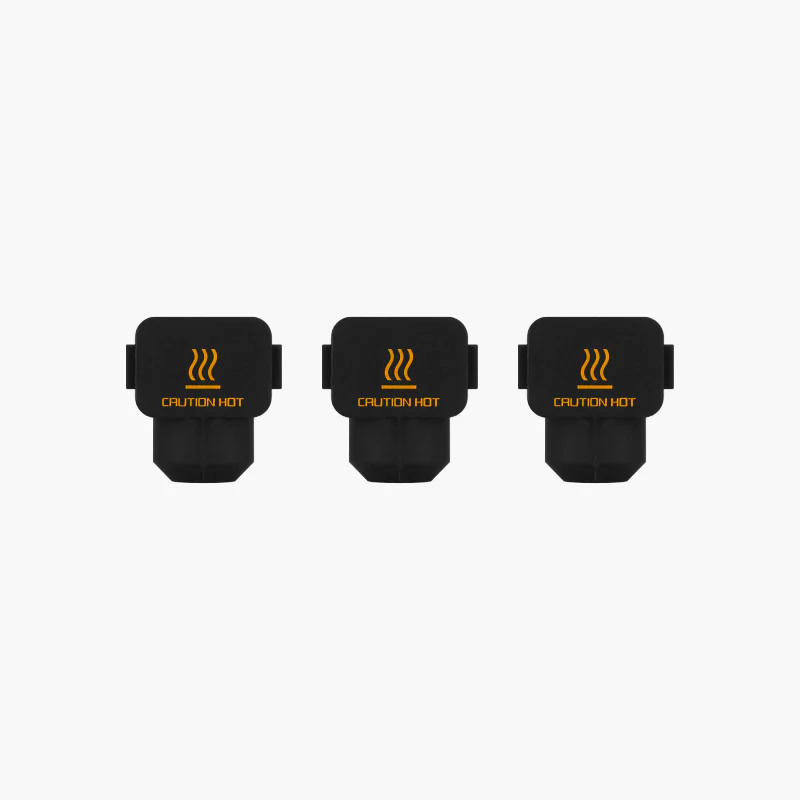
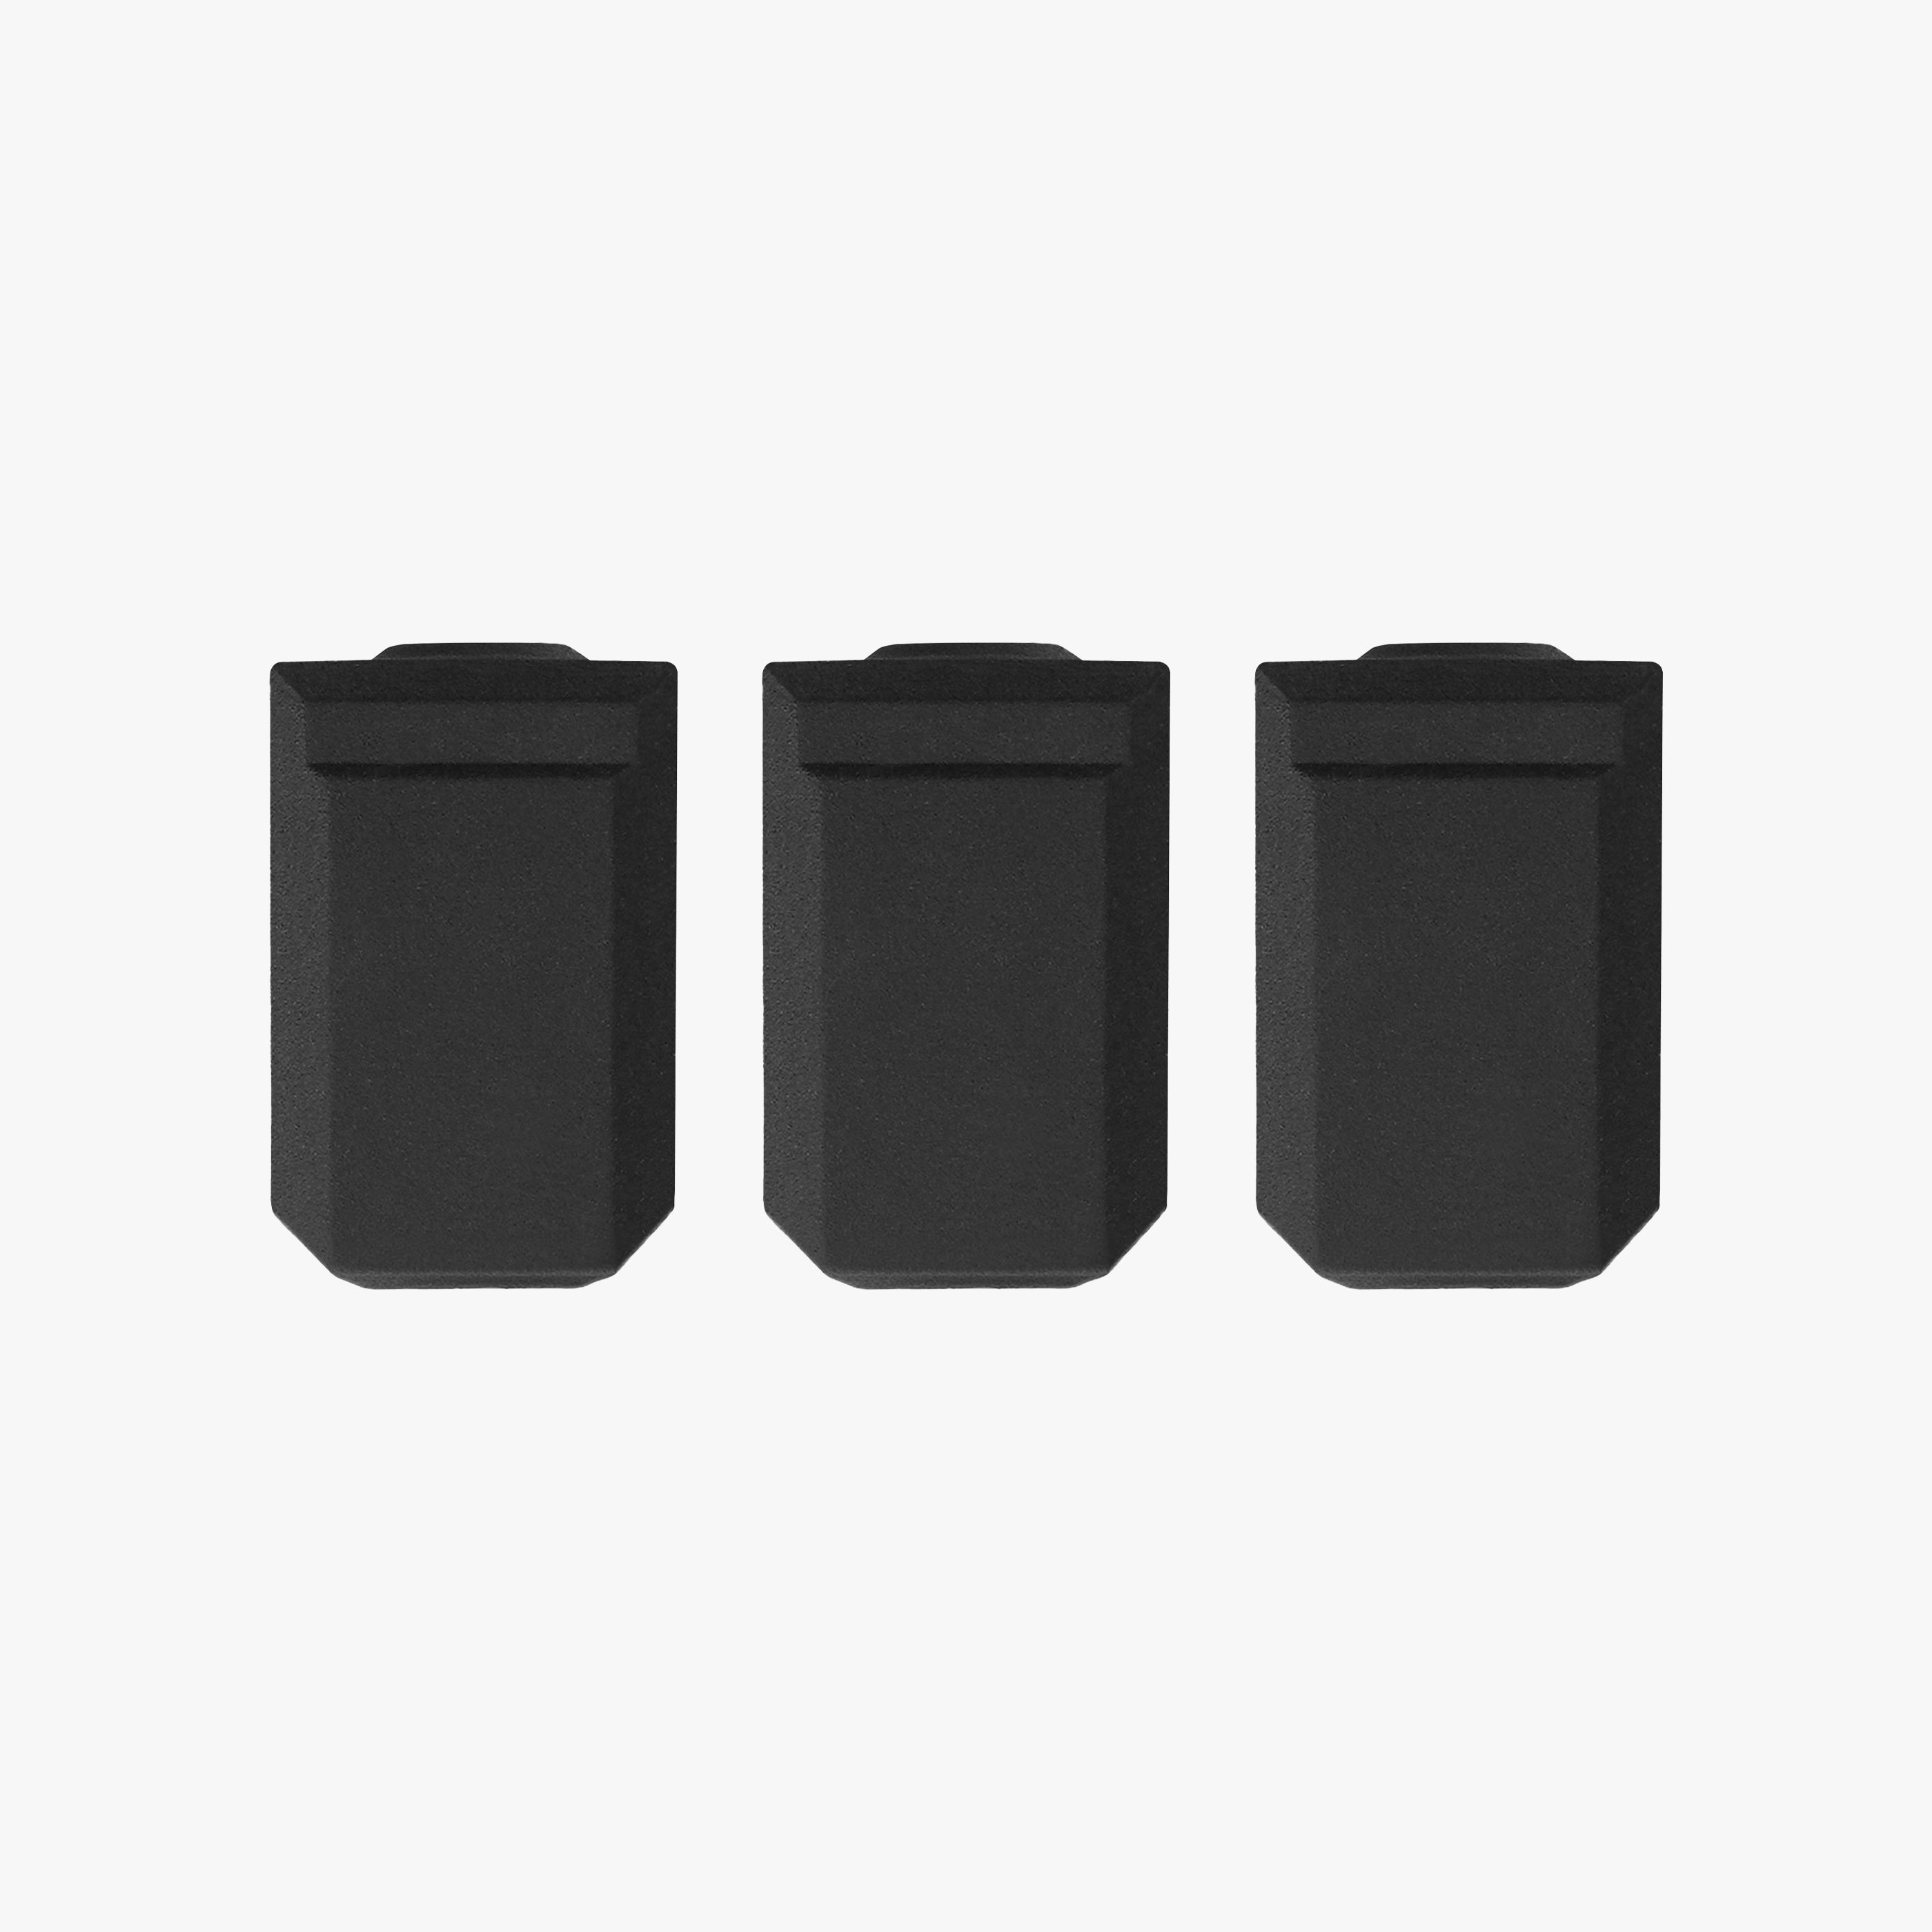
- The silicone nozzle cover, sometimes called a sock, is missing, torn or has gone hard and crumbly.
- Nozzle or heater temperature error messages appearing after the event, because the temperature sensor is now buried in plastic or has been damaged.
- Fans sounding strained or not spinning, because plastic has flowed into a fan duct or onto a fan blade.
Before you touch anything
Stop points
- Never pull a connector inside the printhead while the machine is powered. Working live on printhead connectors is one of the fastest ways to damage a control board.
- No heat guns, no naked flames, no solvent soaks. A heat gun heats everything nearby, including plastic parts, wire insulation and the fans, and MindKits has assessed machines where heat-gun use makes the damage worse.
- If you see burn marks, scorched or melted wire insulation, torn wiring coming out of the heating assembly, or you can smell burning, stop there. Leave the machine unplugged and contact us. Do not power it up "just to check".
- Anything involving the power supply, mains wiring, the AC board, swapping control boards, multimeter testing or stripping the machine down is workshop work. Please do not attempt it, and do not disable or bypass any safety feature or sensor.
Ordered diagnostic and clean-up flow
Work through these in order. Each step is low risk and each one gives you information for the next.
- Stop the print from the interface, then power the machine off at the rear switch. This prevents further extrusion and stops the printhead moving while your hands are near it.
- Let it cool, then look. Remove the front cover of the printhead. Do not touch anything yet.
- Photograph it. Take clear, well-lit photos from the front and both sides of the printhead with the blob still in place. This is the single most useful thing you can send us, and it also protects you if a warranty assessment is needed later.
- Clear the loose debris. Take the build plate out, remove the detached part and any stray strands from inside the machine. Check nothing has jammed the gantry or belts.
- Do not force the cold blob. Cold filament is stronger than the small wires and the thin metal it is stuck to. Prying is how thermistor and heater wiring gets ripped out.
- Only soften the mass if you are confident working near a hot nozzle. Use the printer's own manual heating control and set the temp to match the material type (200-220c for PLA). Never exceed the hotend's rated limit. The nozzle and softened plastic can cause serious burns, so keep skin clear, and stop if wiring is buried or the mass will not release easily.
- Slowly peel, do not yank. Wait for a few minutes to let the heat soak in and soften the material. Be conscious and mindful of your hands near the hot nozzle, use suitable tweezer, pliers or similar metal implement to work the softened material away in small pieces. Move outward from the nozzle rather than pulling down on the heater block. If you cannot do this without approaching wires or hot metal, stop and send us the photos.
- Clean up the last of it. Once the bulk is gone, it can be helpful to use a small metal wire brush to scrub the gunked up metal - do not scrape the temperature sensor or its wires. This can be followed with a general wiped down of the any remain material using a folded paper towel damped with water. Be careful of finger tips and do not linger (just a couple of quick wipes) as the water will only stop the paper towel from getting too hot for a short period.
- Fit a new silicone nozzle cover. Often the old one is nearly destroyed. A missing or perished cover lets plastic stick to the heater block more easily and can make hotend temperature less stable, so it is worth replacing even though it is not necessarily what caused the original failure.
- Check for knock-on faults before printing again. Confirm both the hotend cooling fan and the part cooling fan spin freely and run when commanded, check the nozzle is clear by extruding a short purge, and run your machine's bed levelling or calibration routine. Watch the first layer of the next print from start to finish.
Likely causes, ranked
Ranked by how often we see each one behind a blob.
| Likely cause | What points to it | What to do |
|---|
| Bed adhesion failure, part detached mid print | A loose printed part in the chamber, a bare patch on the plate where the part was | Clean the plate properly, review adhesion setup, use a brim on warp-prone materials |
| Build plate not clean or not seated flat | Oil or fingerprints on the plate, plate not sitting flush in all corners, first layer lifting at a corner | Wash the plate with warm soapy water, dry it and reseat it, then recheck the first layer |
| Perished or missing silicone nozzle cover | Hardened, split or absent sock, repeat small build-ups around the nozzle | Replace the cover, and check it whenever you change a nozzle |
| Warped or curled part striking the nozzle | Lifted corners on the model, clicking or knocking during the print | Adjust part orientation, adhesion and cooling for the material |
| Damage caused during removal | Nozzle temperature errors, dead heating, exposed wire strands after clean-up | Stop, leave it unplugged, escalate to us for assessment |
A note on causes. Detached parts and adhesion problems explain most of what we see, but a blob only tells you material went were it should not. Unless you can see the detached part or a clear adhesion failure, treat the cause as unconfirmed until it is inspected. We would rather say we do not know yet than guess.
Fixes once the blob is off
The printer’s behaviour after clean-up determines whether to calibrate and test, clear a partial blockage, replace the hotend, or stop for board and wiring assessment.
If the printer heats and prints normally
Fit the new silicone cover, run a calibration, and print a small test object while watching the first layer. If the first layer and the purge look normal, you are back in business.
If extrusion is weak or the nozzle seems partly blocked
Cut back any chewed filament, then clear the nozzle using the cleaning or cold pull routine in your machine's menu if it has one. A cold pull is not a hot pull: the point is to heat the nozzle so the filament softens and bonds to the blockage, then let the hotend cool to the material's softening range before pulling the filament out slowly and steadily so it lifts the debris with it. Follow the exact temperatures and sequence in the official nozzle cleaning documentation for your printer model. Do not attempt any of it if heater or thermistor wiring is damaged.
If you get nozzle or heater temperature errors
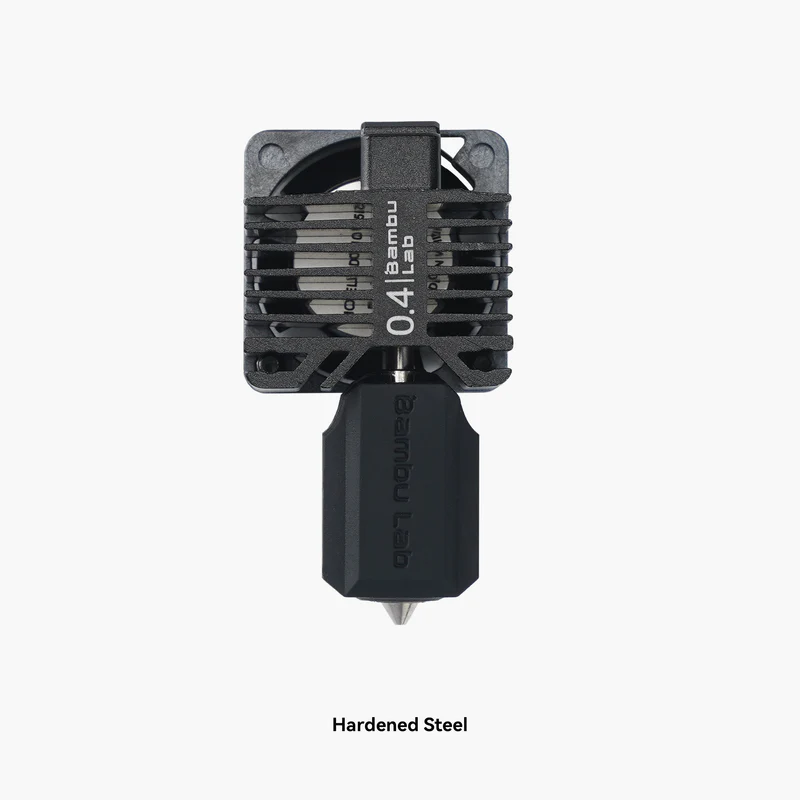
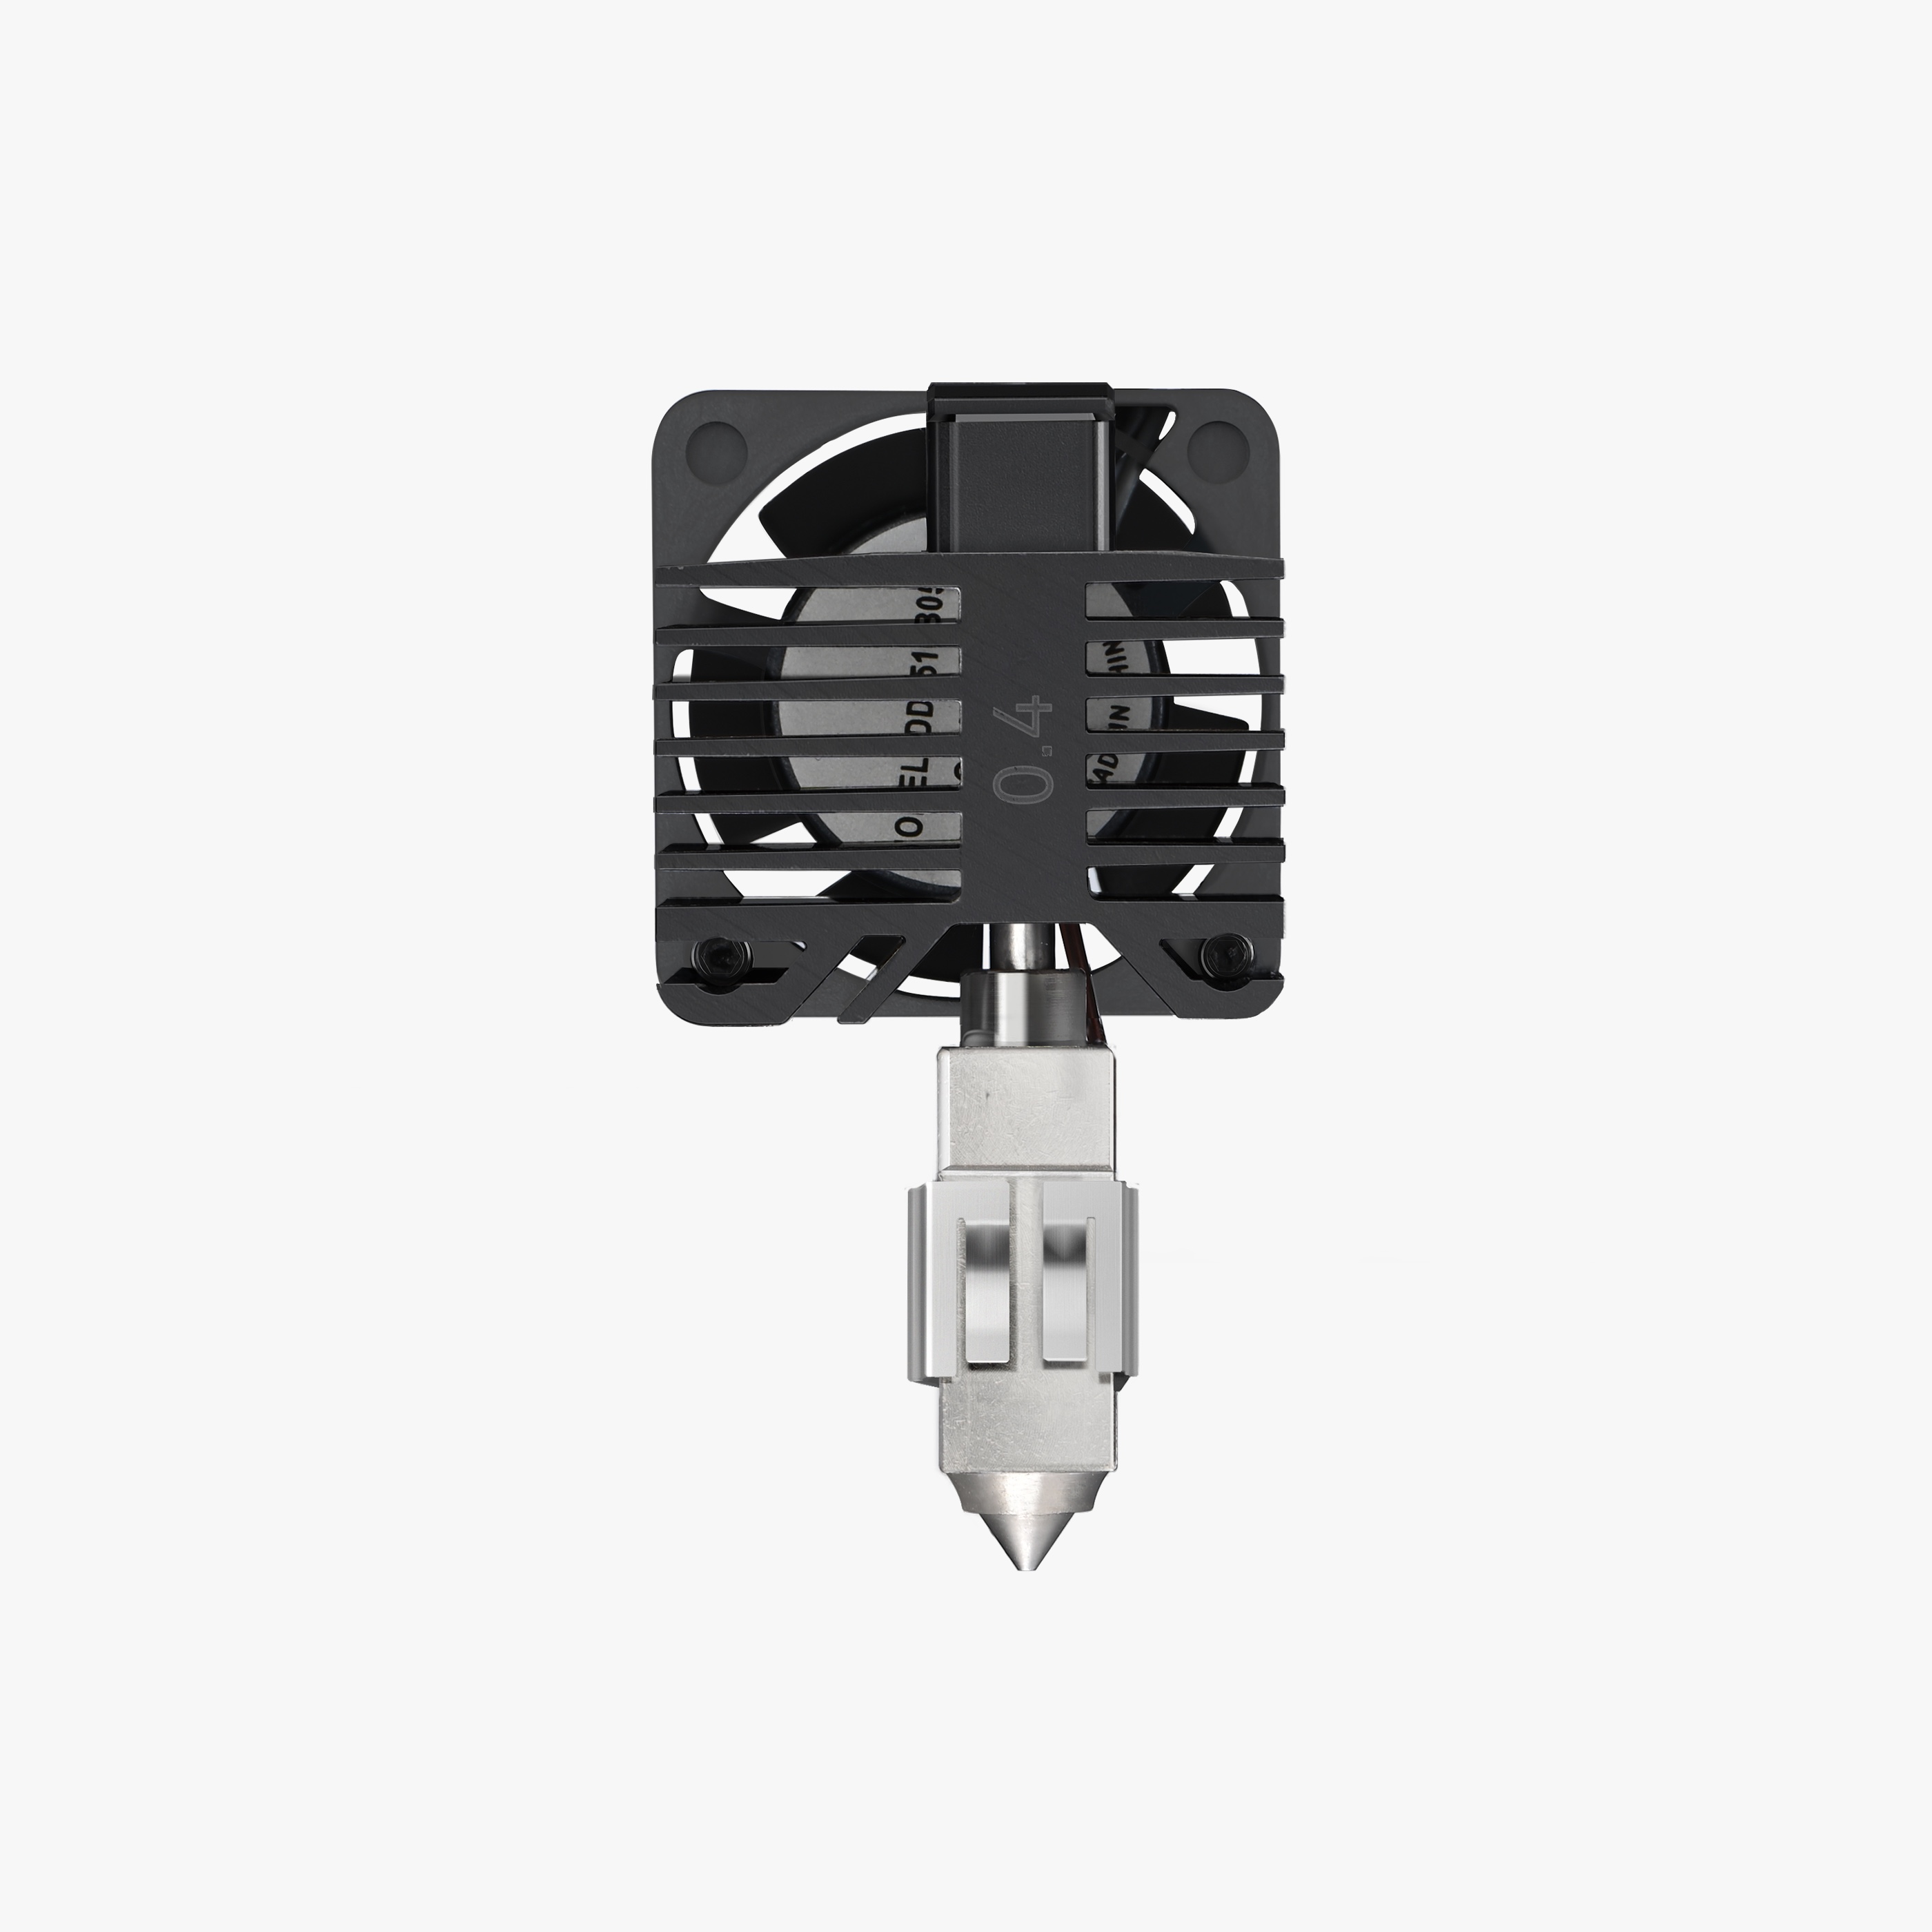
These usually mean the heater or the temperature sensor has been disturbed or damaged. A replacement hotend or heating assembly is the normal path, and on many machines that is a user-fitted part with an official install guide. Fit it with the printer powered off at the rear switch. If errors persist with a known-good hotend, stop there. That points at wiring or a board, which is our job, not yours.
If material reached the heat break or is baked into the heater body
Replace the hotend assembly rather than trying to dig it out. A damaged heat break causes heat creep and repeat jams later, and chasing it costs more than the part.
Preventing the next one
- Wash the build plate with warm water and dish soap regularly, and handle it by the edges. Skin oils, dust and contamination are the most common adhesion killers.
- Use a thin, even layer of a suitable glue stick when a material or a small footprint needs help. A thin coat, not a thick smear.
- Add a brim for materials prone to warping, such as ABS and ASA, and for tall parts with small bases.
- Make sure the plate is flat and flush in every corner before you start. Recalibrate when something has actually changed that affects it, such as a new nozzle or a plate with a different thickness or surface, rather than as a habit after every plate swap.
- Replace the silicone nozzle cover as soon as it looks hard, split or discoloured. It is a consumable.
- Watch the first layer of any new profile or new material. Do not leave the first run of an unproven job going overnight.
- Keep the printhead area clean. Small purge blobs and stray strands are what larger blobs grow from.
Where DIY ends
Cleaning a blob, replacing a silicone cover, and fitting a supplied replacement hotend with the official guide are all reasonable jobs at home. Beyond that, please hand it over. Do not open the base of the machine, do not touch the power supply or AC board, do not swap control boards, do not test with a multimeter, and do not splice, cut or solder hotend wiring. We have seen a single cut sensor wire cascade into several further faults.
Whether a repair falls under warranty depends on your machine, the manufacturer's terms and what the assessment finds. We will not guess at that in a general guide. Send us photos and we will tell you where you stand before any work starts.
What to send us
- Clear photos of the printhead with the blob in place, and again after clean-up.
- The exact wording or code of any error message on the screen or in the app.
- Printer model, nozzle diameter, and the filament type and brand you were running.
- What the print was doing when it failed, and how long it had been running.
- What you have already tried, including any heating, tools or parts used.
- Whether the machine still heats, and whether the fans still run.
Replacement and prevention items
These are relevant parts or complementary products, not a diagnosis. Confirm your exact printer model and the guide's troubleshooting result before ordering.
Check the model name before ordering.
Check the model name before ordering.
Check the model name before ordering.
Check the model name before ordering.

Check the model name before ordering.
Still stuck, or seeing damage you are not comfortable with? Stop, unplug the machine and get in touch. Send your photos and details through our contact page, or read about our repair and technical service options on the MindKits services and training page. Bench and on-site assessment are both available, and we would much rather look at it early than after a second attempt.
This is general troubleshooting guidance only. The official documentation for your specific printer model takes precedence over anything here, and temperatures, menus and procedures vary between models and materials.