MindKits support guide | Updated 10 August 2026
3D printer maintenance for schools: keeping a small fleet printing all term
Applies to:Bambu printersBambu AMSUltimakerTiertimeTopics:School maintenanceWorkshop maintenanceFleet care
If your school fleet has slowed down, jammed, or gone quiet over the holidays, the short answer is that most school printer faults we see are not broken machines. They are missed maintenance, unboxing steps that were skipped, wet or worn consumables, or site issues like network blocking. Work through the checks below in order before you order parts or book a repair. This guide is written from real MindKits support cases and is
Who this guide is for
This is aimed at teachers, technicians and support staff in New Zealand schools, kura and youth organisations looking after two to five or more machines with no 3D printing specialist on staff. The approach applies to the Bambu Lab machines and AMS units we commonly support in schools, and to older Ultimaker and Tiertime machines still sitting in cupboards. Where a step depends on the model we say so, and the manufacturer's manual for your exact model always takes precedence.
Symptoms we see most often in schools
- Several machines down at once, usually after a term break or a change of staff, with students needing prints for deadlines.
- Poor bed adhesion after months of use, with prints lifting off the plate.
- Scratching, squeaking or grinding while the bed or gantry moves.
- Bed that will not move freely on a brand new machine.
- Blocked nozzle, no extrusion, or set plastic built up around the print head.
- An AMS unit that loads filament sometimes and not others.
- A printer that will not connect to the school network, even after firmware updates.
- A printer that trips the room's RCD when it is switched on.
Before you touch anything: record the basics
The fastest fix usually starts with good information. Write down, per machine:
- The exact model and where it lives, including room number, because a technician needs that to bring the right parts.
- Any on-screen error wording or code, plus a photo of the screen and a video of the noise if there is one.
- What the machine was doing when it failed, and what material was loaded.
- Maintenance done so far: plate cleaning, lubrication, nozzle age, last AMS desiccant change.
- What has already been tried, so nobody repeats it.
A shared sheet, or a laminated card taped beside each printer with an owner's name on it, saves hours later. Fleets that keep this record get diagnosed remotely far more often.
Safe diagnostic flow
Use the same low-risk sequence on every machine and record the result before ordering parts or arranging a visit.
Do these in order. Every step is low risk and does not require tools beyond what came with the machine.
Step 1: Rule out unboxing and setup
On a new or recently moved machine, check that all transport locking screws and packing foam have been removed and that anything the manual says to tighten is tightened. A bed that will not move on a new printer is very commonly still locked down for transit. That is not a fault, and it is one of the most common dead on arrival reports we get from schools. Follow the unboxing section of your manual line by line, even if the machine looks assembled.
Step 2: Clean the build plate properly
Grease from hands is a common cause of poor adhesion. Wash the plate with warm water and plain dish detergent, rinse it thoroughly so no soap film remains, dry it with a clean lint-free cloth, and handle it by the edges. Isopropyl alcohol can be useful between full washes where the plate manufacturer permits it, but it does not replace the soap-and-water clean.
Step 3: Rule out the consumables
Swap in a known dry spool and print a small known-good model using the standard profile for that filament. Avoid custom tuning during diagnosis. If the test now prints well, the previous filament or profile remains the leading cause. Filament left open in a classroom can absorb enough moisture to affect print quality, but the rate varies by material and room conditions.
Step 4: Check movement with the power off
Switch the printer off at the rear switch and unplug it. Inspect the rails, rods and pulleys visually in good light, and wipe them with a clean lint-free cloth. Do not run a bare finger along them, because skin oils and dust are exactly what you are trying to keep off those surfaces. Look for dry, dull or gritty surfaces, debris, swarf or filament fragments in the motion path, and for a belt that looks frayed or has missing teeth. If you check for tight spots by moving an axis, do only what the maintenance guide for that exact model allows, because bed-slinger and CoreXY machines differ.
Step 5: Clean, lubricate only where the manual says to, and retest
Only lubricate a component when the maintenance guide for that exact model names both the part and the lubricant. Carbon rods must stay dry.
Follow the maintenance guide for the exact printer model. Do not apply lubricant to a belt, pulley, rail, rod or carbon surface unless the manufacturer specifically instructs you to do so. What is correct varies by machine: some lead screws need grease, some rails or rods need a specified oil, and carbon rods must be cleaned with a dry lint-free cloth and must never be greased or oiled, because lubricant there attracts dust and makes the noise and wear worse. Use only the lubricant type the manufacturer names, wipe off any excess so it cannot migrate onto the build plate, then re-run the machine's own calibration routine and listen again.
Step 6: Look at what the printer sits on
A wobbly bench or a shared table can add resonance that causes calibration and belt tension errors. Move a suspect machine onto a solid, level bench and repeat the calibration before assuming a hardware fault.
Step 7: Check the AMS side
If loading is intermittent, check whether the desiccant is saturated, whether the hub gears are clean, and whether the spool is jamming. Nearly empty spools can let the last of the filament spring loose and catch under the lid, which looks like a feed fault but is not. If you run more than one AMS, swapping a known good one onto the suspect printer shows whether the fault follows the printer or the AMS.
Step 8: Check the site, not the printer
If a machine cannot reach the internet after the manufacturer's steps, the usual cause in schools is the network. Ask your IT provider to allow the printer's outbound traffic and confirm the device is not blocked or isolated by the guest network. Do this before ordering network parts, because replacement boards can carry extra activation and firmware steps with the manufacturer.
Likely causes at a glance
General guide only. Confirm against your model's official documentation.
| What you see | Most likely cause | First action |
|---|
| Prints will not stick, or lift mid print | Contaminated plate, or damp filament | Wash the plate with warm water and additive-free detergent, then test a dry spool |
| Bed will not move on a new machine | Transport locks or packing still fitted | Recheck unboxing steps in the manual |
| Squeaking or scratching during moves | Dry or dirty motion surfaces, or debris in the path | Power off and unplug, inspect and clean, then lubricate only where your model's manual specifies |
| Calibration or belt tension errors that come and go | Bench resonance, or worn belt | Move to a solid bench and recalibrate, then report if it repeats |
| Stringing, blobbing, brittle filament | Moisture in the filament | Dry the filament and store it sealed with desiccant |
| No extrusion or partial extrusion | Nozzle blockage or worn nozzle | Follow the manufacturer's unclog and cold pull procedure for your model |
| AMS loads sometimes only | Ineffective desiccant, dirty hub gears, or spool jam | Check the desiccant status and replace or regenerate it if needed, clean gears, check spool for loose ends |
| Cannot connect to school network | Network policy or port blocking | Escalate to school IT before ordering parts |
| Machine trips the RCD | Possible electrical leakage fault in the machine or its lead | Stop, unplug, do not use the printer, and have it and the circuit assessed by a licensed electrician |
| Set plastic built up on the print head | Earlier failed print left material behind | Photograph it and ask us before picking at it |
Fixes your staff can safely do
- Plate cleaning and replacement of a worn plate.
- Removing transport hardware and rerunning first-time setup and calibration.
- Cleaning motion surfaces, and lubricating only the parts your model's maintenance guide names, with the lubricant it specifies.
- Replacing nozzles and following the manufacturer's unclog and cold pull steps for your model.
- Replacing AMS desiccant and cleaning hub gears.
- Drying filament and storing it sealed.
- Reseating an external cable or connector, but only with the printer switched off at the rear switch and unplugged.
Connectors are fragile. Never unplug or reseat a print head or board connector while the machine is powered on, because that can damage the fitting and turn a small fault into a bigger one. Some connectors are temperamental and need reseating more than once before an error clears, so take your time and keep the machine off.
Where to stop and escalate
Unplug and stop if any of these apply
- The machine trips an RCD or circuit breaker, smells hot or burning, smokes, sparks, or the plug or lead is damaged. An RCD trip usually means current is leaking to earth, so treat it as a potential electrical fault. Disconnect the printer, stop testing, and do not use it again until it and the circuit have been assessed by a licensed electrician.
- You can see moisture, water staining or corrosion inside the machine or an AMS.
- The fault points at a control board, power supply, heater or wiring loom.
- The frame is bent, cracked or has taken a knock.
Do not open a power supply, work on mains wiring, take a multimeter to internals, swap boards, or strip the machine down. Do not defeat or bypass a lid switch, thermal cut-out or any other safety feature to keep a machine running for a deadline. Board level and mains level work belongs with our workshop or a qualified electrician.
We do not publish repair pricing, turnaround or warranty terms here because they depend on the machine, its age and the fault. Ask us and we will confirm what applies in writing before anything is booked. Ask us about purchase-order or account options for your school before booking.
Prevention plan for a school fleet
A simple cadence separates weekly housekeeping from model-scheduled maintenance, monthly condition checks and term or staff-change tasks.
Weekly
- Wash each build plate with warm water and additive-free detergent, then rinse and dry it with a clean lint-free cloth. Warm water and detergent are usually the more effective way to remove oils, so isopropyl alcohol is an optional extra between washes where the plate manufacturer permits it, not a required follow-up step.
- Empty scrap and offcuts from under the bed and from the purge area.
- Return open spools to sealed storage with desiccant.
At the interval in each model's maintenance schedule
- Inspect and clean rails, rods, pulleys and belts, and lubricate only the components your model's maintenance schedule lists, using the lubricant it specifies.
- Run the machine's own calibration and note anything that fails.
- Check nozzles for wear and replace tired ones before a deadline week.
Condition-based, checked at least each month
- Check the humidity reading or desiccant status indicator on each AMS and replace or regenerate the desiccant once it is no longer effective, rather than working to a fixed calendar interval. Desiccant that is no longer absorbing leaves the filament exposed to humidity. MindKits technician note: we have seen corrosion and board damage in units that sat in damp conditions for long periods, so keep AMS units dry, though we cannot confirm a single root cause for every failure.
- Review your spares kit: a spare nozzle set, a spare plate and, for a busy fleet, a spare hotend assembly.
Each term and at staff changes
- Confirm who owns each machine and refresh its maintenance card.
- Book an onboarding or refresher session if the trained staff member has moved on.
- Ask IT to confirm printer network access still works before term starts.
- Keep the fleet on a tested firmware version and record which version each machine is on. Read the release notes before updating, validate an update on one machine first, and schedule fleet-wide updates for quiet periods rather than the week before an assessment deadline.
What to send us if you need help
- Model and count of affected machines, and the room they are in.
- A photo of the on-screen error and a short video of the noise or failure.
- Material, slicer profile, and whether the test print used defaults.
- Maintenance history: last plate clean, last lubrication, nozzle age, last desiccant change.
- Every step here you have already tried, and the result.
- Whether a known good AMS or spool was swapped in.
Get help from our team
Workshop maintenance consumables
These are relevant parts or complementary products, not a diagnosis. Confirm your exact printer model and the guide's troubleshooting result before ordering.

Check the model name before ordering.
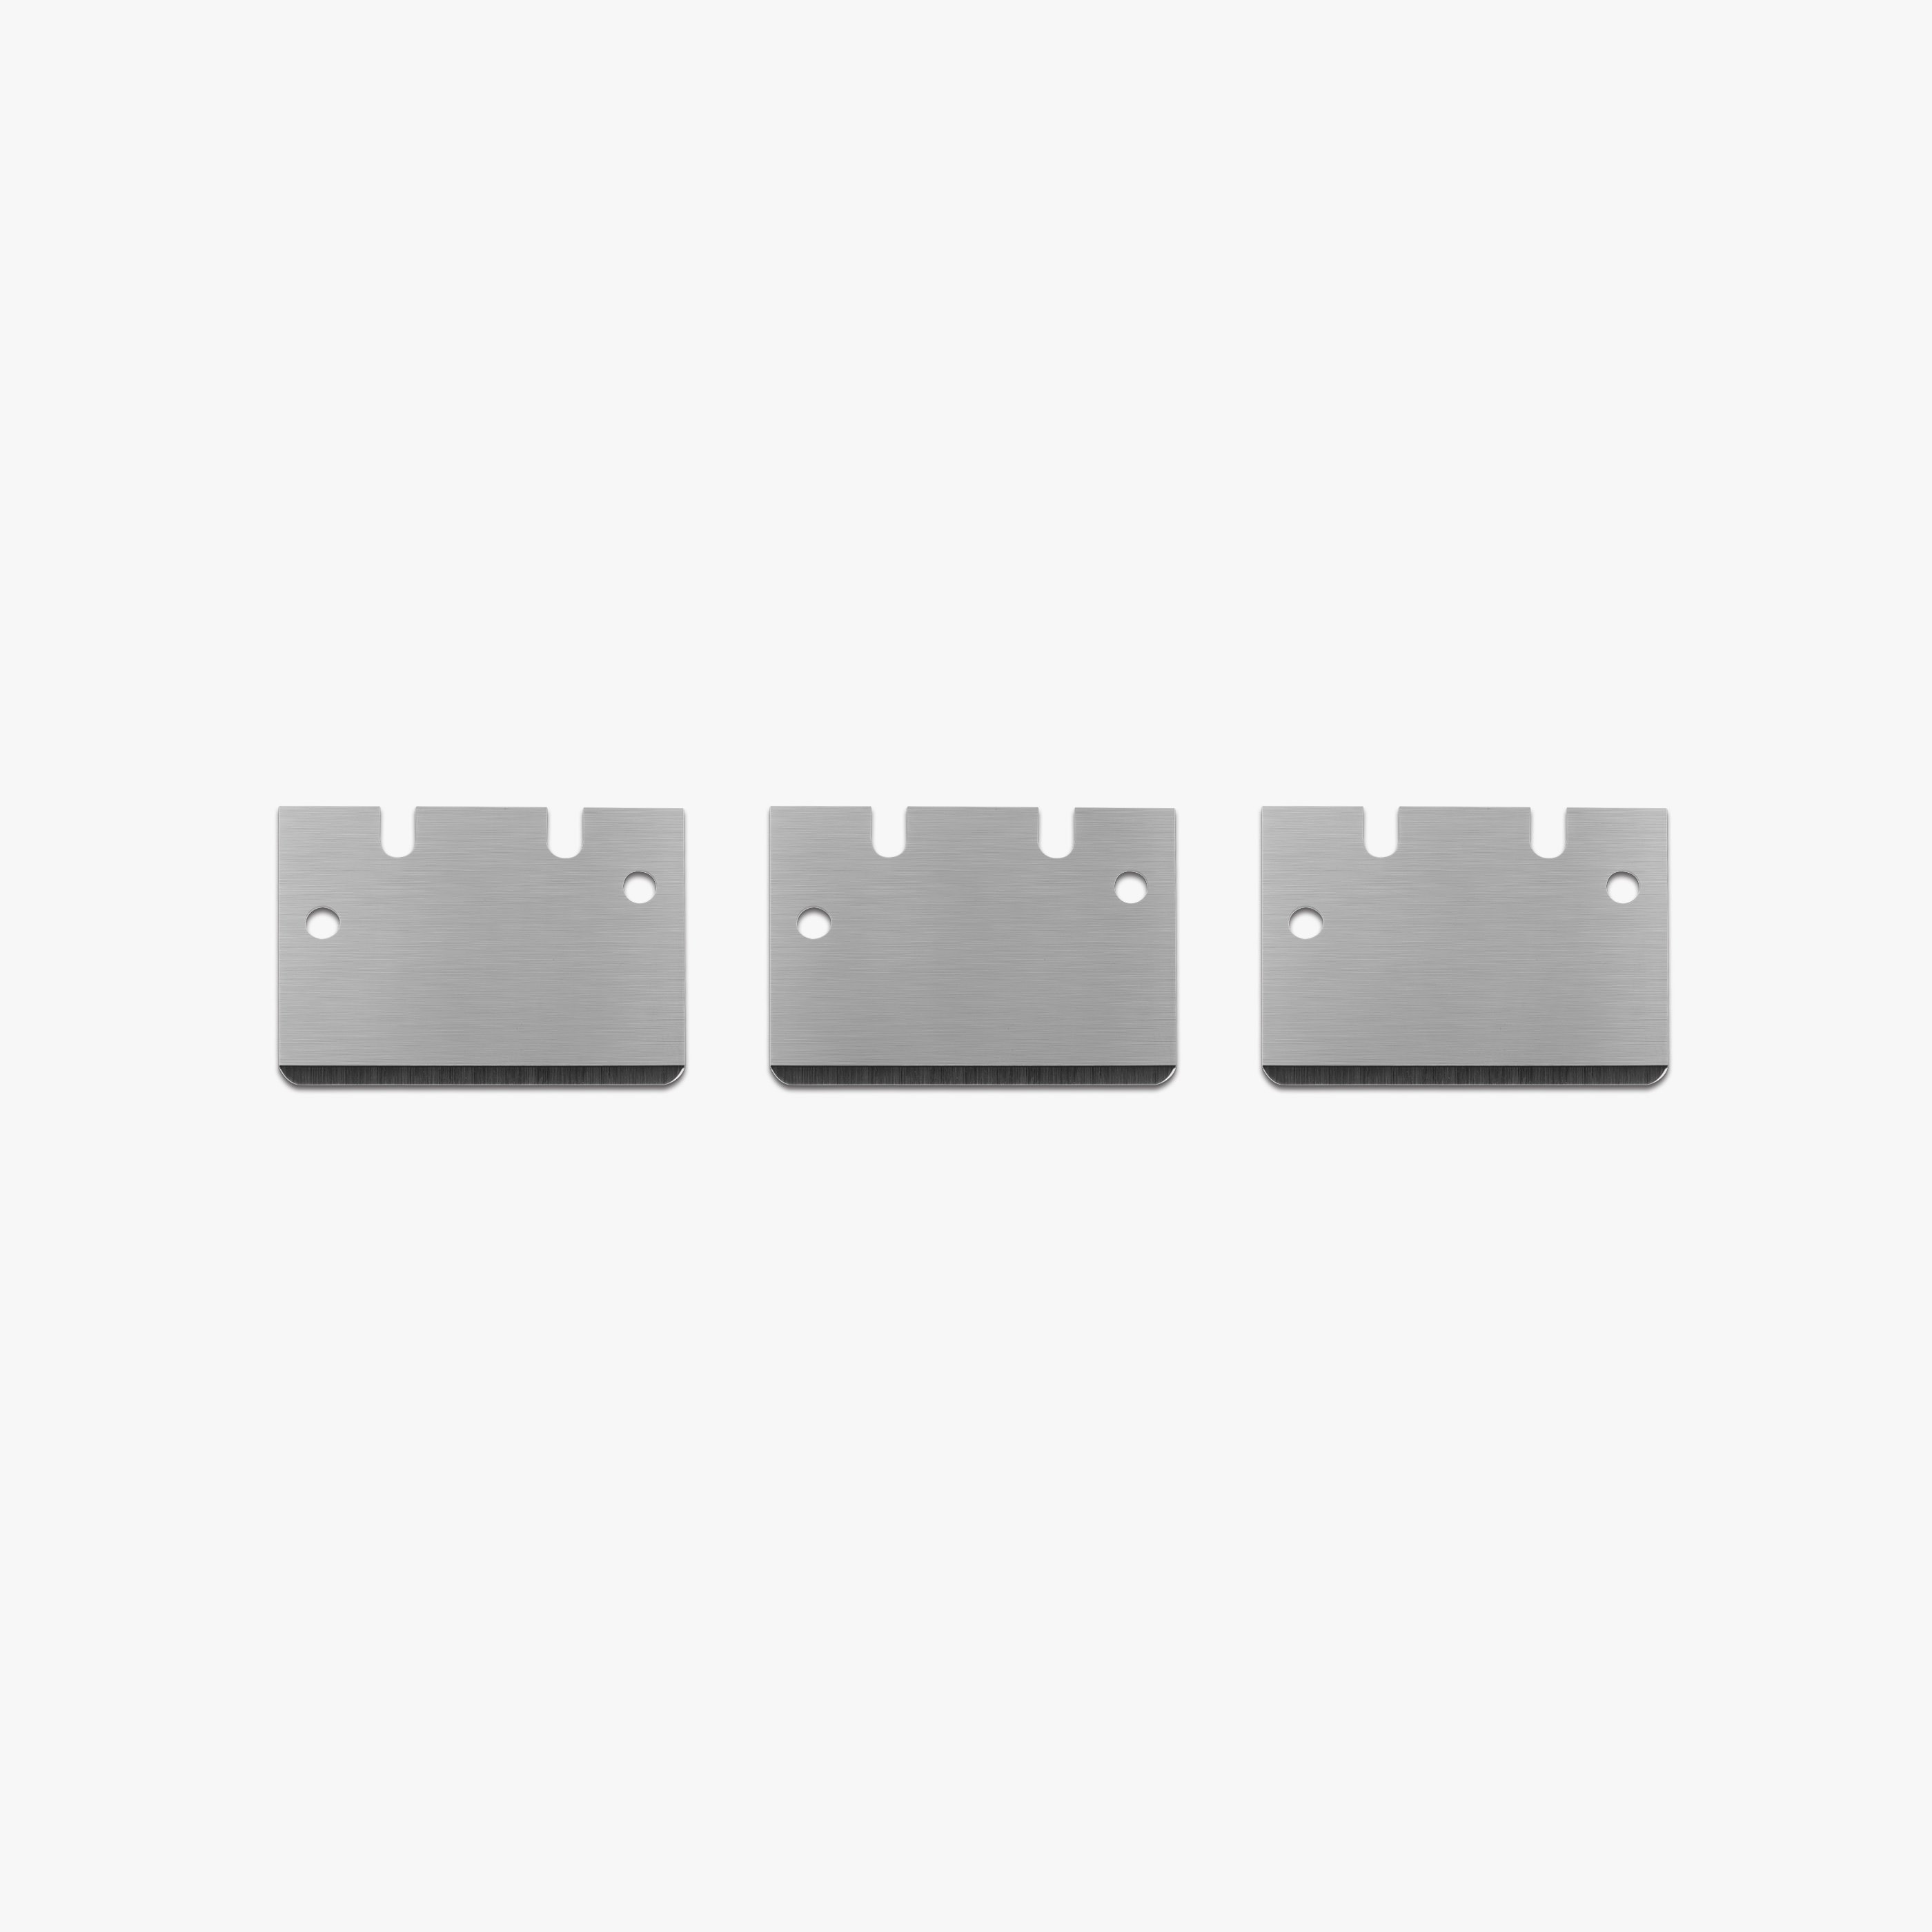
Check the model name before ordering.

Check the model name before ordering.
If the fleet is still down after these checks, talk to us. We can work through it remotely, send parts with guidance for the ones that are safe to fit, arrange a workshop repair, or look at an onsite visit for a group of machines. Training and onboarding for new staff can be arranged separately from a repair if the repair is urgent.
MindKits services and training | Contact us
This is general troubleshooting guidance based on faults we see across many machines. The official documentation for your exact model takes precedence. Nothing here is a warranty, pricing or turnaround commitment.