MindKits support guide | Updated 10 August 2026
Bambu Lab AMS will not load or retract filament: a MindKits troubleshooting guide
Applies to:Bambu AMSAMS LiteAMS 2 ProAMS HTA1 seriesTopics:Filament loadingFilament retractionPTFE pathAMS feeder
If your AMS throws a "failed to pull out" or "failed to pull back" message, the quickest way to narrow it down on a multi-slot AMS is to work out whether one slot is failing or all of them are. One bad slot usually points at that slot's first-stage feeder. All slots failing at once usually points at the shared internal hub or the AMS mainboard. Everything else in this guide is about proving which of those it is, safely, before any parts get ordered or sent out.
Scope. The one-slot versus all-slots comparison applies to multi-slot systems: the four-slot AMS, AMS Lite and AMS 2 Pro. The AMS HT is a single-spool unit, so there is no slot comparison to make. If you have an AMS HT, follow the "AMS HT: single-spool path" section below instead of the slot pattern steps.
Written from real MindKits support cases
Which machines this applies to
- Original four-slot AMS (multi-slot)
- AMS Lite, as shipped with A1 and A1 mini (multi-slot)
- AMS 2 Pro (multi-slot)
- AMS HT (single spool, use the AMS HT path below)
The general diagnostic approach is similar across the multi-slot units, but the internals are not identical, so parts are usually not interchangeable between generations. Please do not assume a spare from one AMS generation will fit another. Ask us first and we will check the current compatibility information for your exact unit.
Symptoms we see most often
- An error on screen about failing to pull the filament out of, or back into, the AMS.
- Filament loads partway, gets as far as the buffer, then winds back into the AMS.
- A grinding or clicking noise from a slot, and a chewed spot bitten out of the filament where the feeder gears grip it.
- One slot that never works while the others are fine.
- Every slot failing in the same way.
- The printer not seeing the AMS at all, sometimes with feeder lights flashing red across all ports.
- Filament snapping inside the AMS or inside the print head, especially with older PLA.
- A spool that will not turn, or material lifting and jamming up under the lid. This is common on a nearly empty spool.
- The printer behaving as though the rear external spool is still loaded when it is not.
Work through this order first
These steps are deliberately low risk. Do them in order, because each one removes a possible cause and makes the next answer more useful.
1. Record what the machine is telling you
Write down the exact wording of the error and any code shown on screen. Take a short video of the load attempt and a photo looking down into the AMS with the lid open and filament loaded. This is the single most useful thing you can send us, and it often saves a whole round of back and forth.
2. Rule out the filament itself
Filament faults look exactly like hardware faults. Check the spool is not tangled or pinched under itself. Flex a length of the filament in your hands. If it snaps rather than bends, it has likely picked up moisture or aged, and the brittle section needs unspooling and discarding. Then try a different roll that you know has printed well recently. Re-wound or self-refilled spools bind more often than factory spools, so test with a factory spool if you have one.
3. Establish the pattern
On a multi-slot AMS, try loading in every slot and note which ones fail. One slot failing, or all slots failing, sends you down completely different paths. This is the question our technicians ask first in nearly every case.
4. Take the AMS out of the equation
Disconnect the AMS and load and unload filament through the printer's rear external spool holder instead. If that works cleanly, the printer side is healthy and the fault sits in the AMS or the path between the AMS and the print head.
5. Clear a confused loaded state
If the printer thinks the external spool is loaded when it is not, select the external spool on the screen, run an unload, then reconnect the AMS and try again. Power the printer off and on. Record the installed firmware version rather than updating as a reflex, and tell us if the trouble started right after a firmware update, because that changes what we look at.
6. Find out where the filament stops
Watch a load attempt and note the furthest point the filament reaches. Does it leave the back of the AMS, get to the buffer, or reach the print head? You can also disconnect the PTFE tube at the AMS end and feed filament through by hand to feel for friction, and hand feed through the buffer the same way. Smooth by hand but failing under motor drive is a useful clue.
7. Open the lid and look inside
With the AMS powered down, open the lid and look for droplets or condensation, desiccant that has gone saturated or leaked out of its pack, any debris sitting in the filament path, and dust or filament shavings on the visible gears. Report anything you see rather than trying to clean up around electronics.
AMS HT: single-spool path
Because the AMS HT holds one spool, step 3 (the slot pattern check) does not apply. Work through the rest of this order instead:
- Record the exact error wording and take a short video of the load attempt.
- Rule out the filament: check for tangles, brittleness and a chewed flat spot, then test a factory spool that has printed well recently.
- Load and unload through the printer's rear external spool holder with the AMS HT disconnected. If that works cleanly, the fault sits in the AMS HT or the path to the print head.
- Note the furthest point the filament reaches, then hand feed through the disconnected tube to feel for friction.
- With the unit powered down, look inside for moisture, saturated desiccant or debris in the filament path.
If the AMS HT is not detected at all, or you can see moisture or corrosion, stop and contact us rather than stripping it down.
Likely causes and what points to them
The slot pattern is the strongest early clue on a multi-slot AMS, but it is still a starting point rather than a confirmed diagnosis.
Ranked by how often we see each pattern in real cases.
| What you observe | Most likely cause | Confidence | Who should do the work |
|---|
| One slot only fails, others fine, sometimes with grinding and chewed filament | That slot's first-stage feeder, meaning its motor or gears | Strong and repeatedly confirmed | Part fitted by a confident owner, or by our workshop |
| All slots fail in the same way | The shared internal hub, its drive, or the filament detection inside it. A cracked hub gear cover causing slip is a known pattern | Strong | Contact us before removing anything |
| AMS not detected at all, or feeder lights red across every port | AMS mainboard. MindKits technician note: in our service experience this often follows prolonged moisture inside the unit with saturated desiccant, rather than being a manufacturer-established cause | Common, usually needs bench confirmation | MindKits only |
| Loads, passes the buffer, then rewinds | Could be the buffer, the internal hub, or the hub sensor. Testing needed to isolate the faulty part | Not confirmable without testing | MindKits |
| False runout or a failure to extrude when the AMS itself looks fine | A filament sensor not triggering | Moderate | MindKits |
| Filament snaps inside the AMS or print head | Brittle or moisture-affected filament | Strong, and owner-fixable | You, by replacing the filament |
| Spool will not turn, material lifts under the lid, often near the end of a roll | A light, nearly empty spool riding up | Strong | You, by printing a spool weigh addon |
| Feed is slow or jumpy with no other clue | Sometimes suggested as weak or unstable power to the AMS. We have never confirmed this as a root cause, so treat it as an open question rather than an answer | Unconfirmed hypothesis | MindKits |
Things that look like an AMS fault but are not
- A blocked or partly clogged nozzle, so filament cannot be pushed through.
- A bent nozzle or hotend after a crash or collision.
- Heat creep on a warm day with the door shut, softening filament before the nozzle.
- The wrong material selected in the slicer for the filament actually loaded.
- Spool swap detection quirks partway through a print.
What usually fixes it
- Single slot faults. Replacing the first-stage feeder for that slot, or its motor. Parts availability varies, so contact us with the exact AMS model before ordering. In the meantime you can keep printing using the working slots.
- All slot faults. Replacing the internal hub assembly. Some of the small parts inside it, including the gear cover and the detection board, are only supplied as part of the whole hub, so the hub is what gets changed.
- AMS Lite units that are dead or undetected. Replacing the data cable, the filament hub, or the mainboard, depending on what the bench test shows.
- Contamination and moisture. Cleaning the visible gear path and replacing the desiccant. Follow the desiccant quantity and replacement indicator for your exact AMS model, and keep the lid closed.
- Nearly empty spools lifting. A printed weighted spool insert stops the roll floating up under the lid.
Most repairs are done either by sending you the part with the official guide, or by the unit coming to our Auckland workshop. We work repair first. We do not swap whole units unless a unit genuinely cannot be repaired, and we will tell you honestly which situation you are in.
Stop here and escalate
Unplug the machine at the wall and stop if any of the following apply. Contact us instead of continuing.
- You can see corrosion, water damage, discolouration or a burnt smell around any circuit board or connector.
- The AMS is not detected at all, or the port lights are red across the board.
- A step would need you to work on mains wiring, a power supply, an AC board, or to swap or test circuit boards.
- A step would need a multimeter, or stripping the unit down beyond opening the lid.
- You are not confident about any of it. That is a perfectly good reason to hand it to us.
Never force filament through a jam, never drive the feeder against resistance to clear something, and never disable or work around a safety feature or sensor to keep printing.
If filament is jammed all the way to the print head, the usual approach is to cut the material at the print head using the cutter lever on its side, then disconnect the tube above the AMS feeder and draw the filament back out. Use the official guide for your model for clearing broken material, and if the broken piece will not come out, stop and talk to us rather than probing at it.
Preventing repeat failures
- Keep desiccant in the AMS and check the humidity reading or desiccant status regularly, then replace or regenerate it when it is no longer effective rather than on a fixed calendar interval. Check more often in humid conditions. MindKits technician note: we have seen corrosion and board damage on units that ran with saturated desiccant for a long time, so if you find condensation or moisture inside the AMS, stop using it and contact us.
- Keep the lid closed while printing and while idle.
- If you print only occasionally, unload filament from the printer and AMS between jobs so it is not sitting in the path going brittle.
- Store filament sealed and dry, and be wary of very old rolls.
- Use a weighted insert once a spool is nearly empty.
- Note the installed firmware version and the date of any update. If a fault appeared straight after an update, tell us. Rolling firmware back is only worth trying where a rollback is available for your model and it is supported by a known firmware issue or Bambu Lab support guidance.
What to send us
Having this ready means we can usually tell you the likely part on the first reply.
- Printer and AMS model, and how long you have had them.
- The exact error wording and any code from the screen.
- Which slots fail and which work.
- A short video of a failed load or retract, with sound so we can hear grinding.
- A top-down photo of the AMS with the lid open and filament loaded.
- What happened with the rear external spool test.
- Filament brand and type, and whether a second roll behaved the same.
- Whether the trouble started after a firmware update, a crash, or a move.
- The printer log file if we ask for it.
Parts and maintenance items mentioned in this guide
These are relevant parts or complementary products, not a diagnosis. Confirm your exact printer model and the guide's troubleshooting result before ordering.

Check the model name before ordering.

Check the model name before ordering.
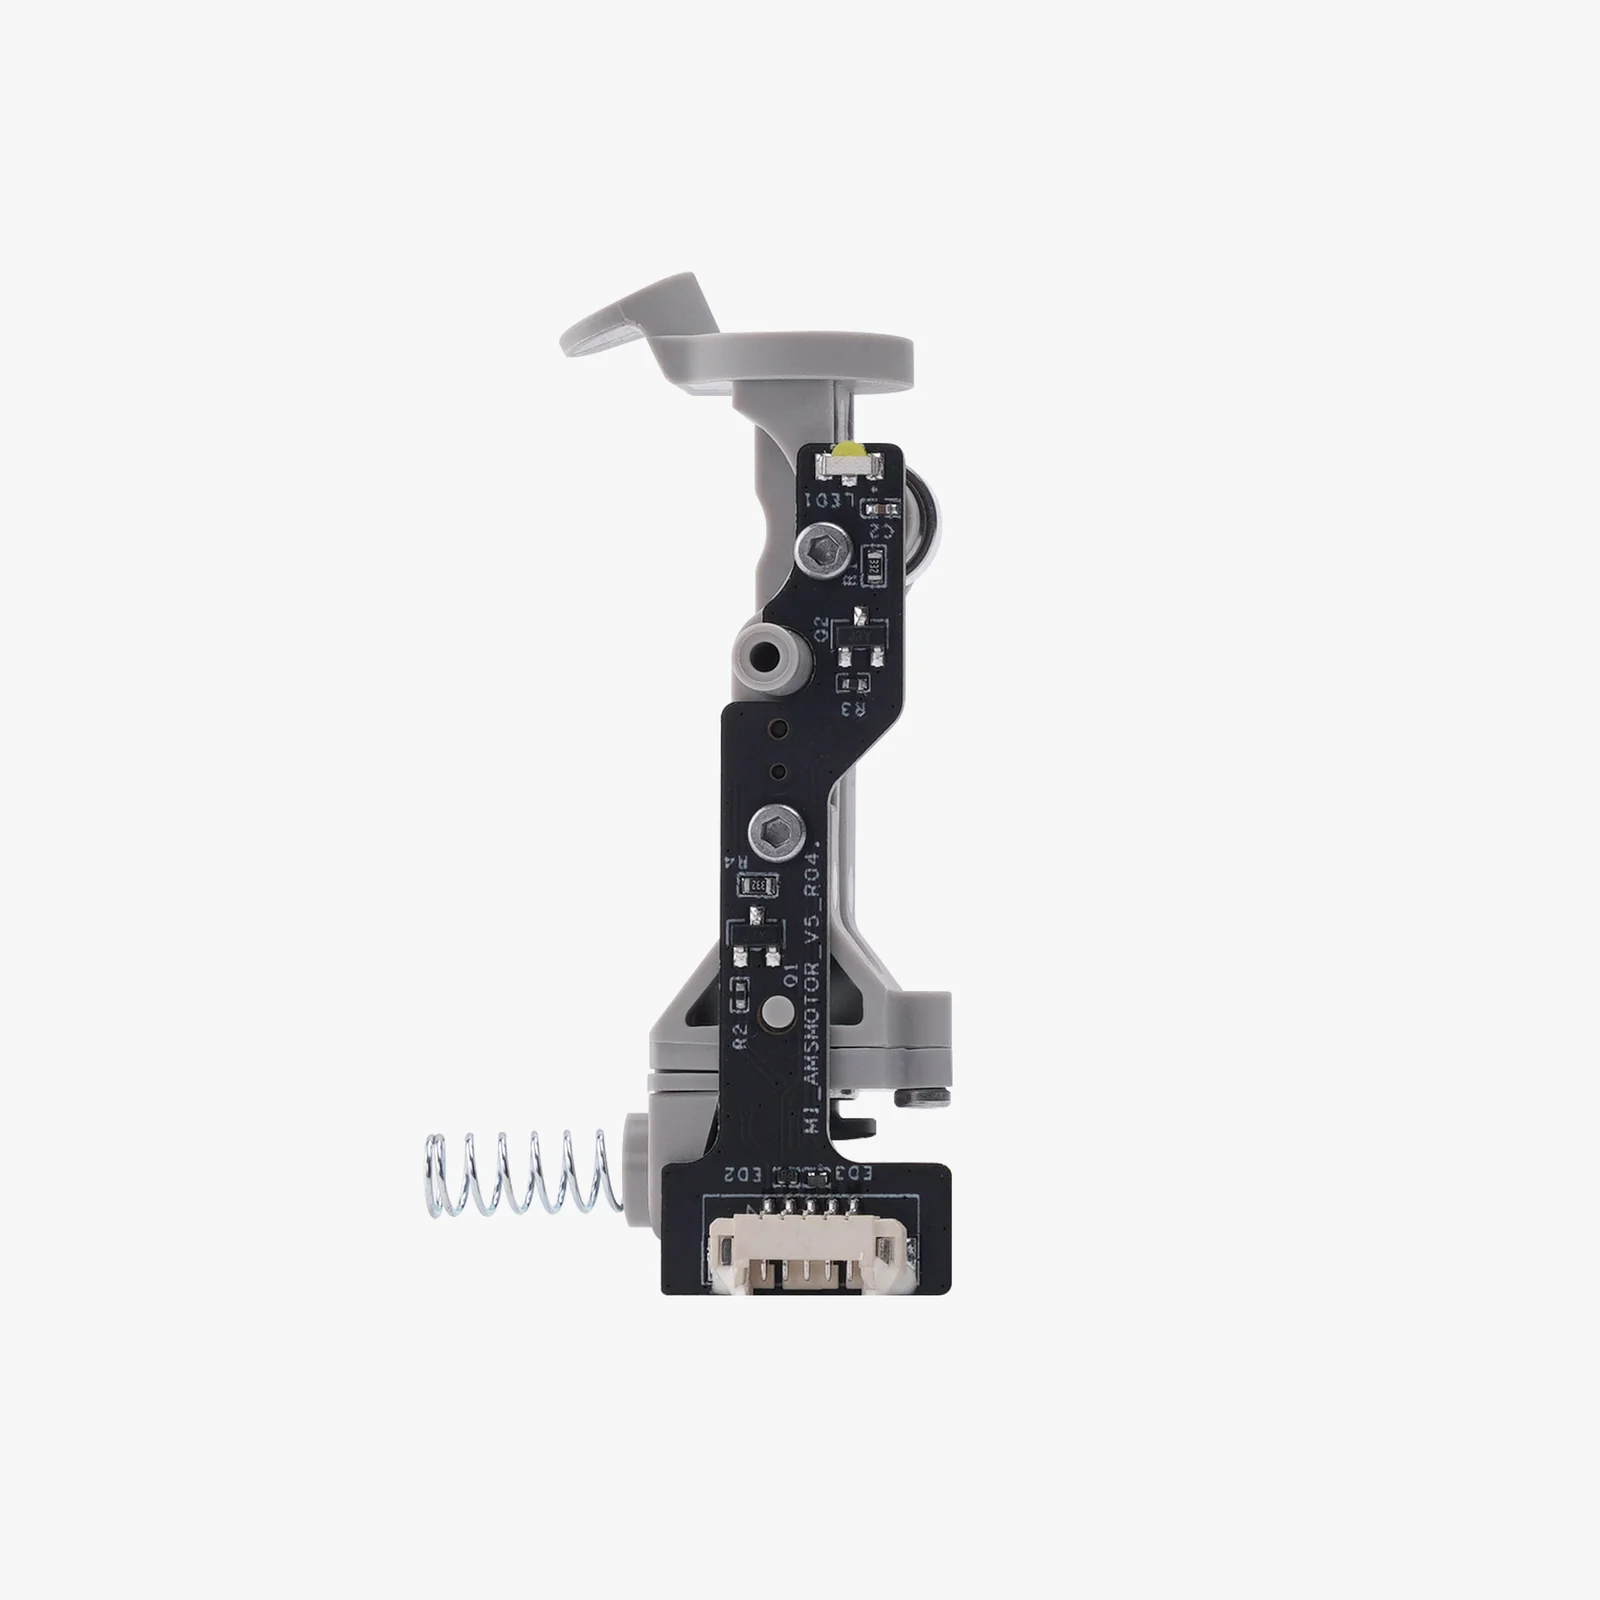
Check the model name before ordering.

Check the model name before ordering.
Still stuck? Talk to us
Send the details above through our contact page and our technical team will work out the next step with you, whether that is a part in the post or a repair at our workshop. You can also read about our services and training options.
This is general troubleshooting guidance based on faults we have seen. It is not a substitute for the official documentation for your model, which always takes precedence. Parts availability, compatibility and service arrangements are confirmed case by case.