MindKits support guide | Updated 10 August 2026
Extruder clicking or a hotend that will not heat properly: how to work out what is really wrong
Applies to:Bambu A1 seriesBambu P1 seriesBambu X1 seriesBambu H seriesTopics:Hotend heatingExtruder clickingNozzle clogHeat creep
If your printer is clicking or ticking while it loads filament, throwing an extrusion motor overload, or showing a nozzle temperature message, the noise is almost never the fault itself. Clicking means the extruder is trying to push filament and the filament is not going anywhere. The real problem sits further down: a partial blockage, a hotend that is not held firmly, a cooling fan that has stopped, or a heater and sensor that are no longer reading correctly. Chase the noise and you will replace the wrong thing.
This guide sets out the order our technicians actually work in, from the cheapest and safest checks to the point where the machine needs to come to us. It applies to enclosed and open Bambu Lab style desktop printers, including the A1 and A1 mini, P series, X series and H series machines. It also broadly suits other direct drive FDM printers, though menus and part names differ.
Which printers this covers
We see this pattern across A1 and A1 mini machines, P1 series, X1 series and the H series. The checks below are written to be model neutral. Menu names such as the filament drying cycle or the cold pull routine exist on some models and not others, so use what your machine offers and follow its official documentation for the exact steps.
Symptoms
Clicking is the sound of the extruder pushing against resistance. The useful question is where the resistance or heat-control fault begins.
- Rhythmic clicking or ticking from the extruder during filament load or purge, often with a partial or failed extrusion.
- An extrusion motor overload or similar flow related error.
- A nozzle temperature malfunction or abnormal temperature control message.
- Temperature behaving oddly on screen: stuck at a high reading, drifting, or dropping away during unload.
- Filament that clearly softens but will not flow at a temperature that used to work.
- Print quality knock-ons: fuzzy or rough surfaces, inconsistent first layers, gaps, or over-extruded material squashed into the plate.
- No response at all from the printhead, with no heating and no fan movement.
Two things worth knowing before you start. First, while the extruder ticks it is grinding away at the filament, so always cut off the chewed section before you retest, otherwise you are feeding damaged filament into the same problem. Second, the error code matters. The specific message narrows the cause considerably, so write it down word for word before you clear it.
Ordered diagnostic flow
Work from filament and nozzle checks toward heat, cooling and hotend substitution. A persistent error with a known-good hotend is an upstream support case.
- Record the exact error. Note the code and wording from the screen or app. If your machine can export logs to its memory card, keep a copy for us.
- Record the installed firmware version. Write down the version showing on the machine and in the app before you change anything, so the behaviour can be matched to it later. Do not update or roll back as a reflex. Check the release notes for your model, or ask us or the manufacturer's support, and only change firmware if there is a known issue that matches your symptoms.
- Rule out the filament and the feed path. Clicking simply means the filament is not advancing normally, so start with the cheap causes: a restricted or partly blocked nozzle, heat creep softening filament above the melt zone, resistance anywhere in the feed path such as a tight tube or a bent guide, a tangled or cross-wound spool, a nozzle temperature too low for the material, a profile demanding more flow than the hotend can deliver, and wear in the extruder gears or filament path. Moisture can contribute, particularly if you hear popping or see steam, so dry the spool with the printer's own drying cycle if it has one, but do not assume moisture is the cause without those signs.
- Cut back the damaged filament and reload. Trim past any chewed or flattened section, cut a clean flat tip, and try loading again.
- Clear the nozzle using the official routine for your model and material. Use the printer menu or manufacturer procedure for a purge, cold pull or nozzle clean. A cold pull is not a pull at printing temperature: the nozzle is heated so the filament softens and grips the blockage, then allowed to cool to the material's softening range before the filament is drawn out slowly so the debris comes with it. Pulling filament out while it is fully hot is a hot pull and leaves the blockage behind. Use the temperatures and sequence published for your exact printer, keep within the filament manufacturer's supported range, and never exceed the hotend rating. Remember that the nozzle is at printing temperature and can cause a serious burn.
- Look for material cross-contamination. Leftover material from a previous job can cause partial clogs and back pressure errors if the changeover was not purged properly. For ordinary switching between PLA, PETG and ABS, a full purge at the correct temperature and the right slicer profile for the new material is normally enough, and you do not need a separate hotend per material. A dedicated hotend is worth considering for abrasive filaments, such as carbon or glass filled, and for materials that are sensitive to contamination or need a specific hotend on your model. Check the manufacturer's guidance for your printer before assuming a material is supported.
- Check for movement without adjusting fasteners. With the machine powered off and cool, look at how the hotend is retained on your specific model, using its own documentation to identify the part, because the mounting differs between the A1 family, P series, X series and H series. If the hotend or heater assembly moves, or the movement only appears once hot, record a short video and contact us. Do not tighten, turn or adjust any fastener, latch or clamp unless the official guide for your exact model names that part and gives the procedure.
- Watch how it heats. With no print running, use the manual heat and cool controls in the menu. It should climb at a steady, sensible rate, hold the setpoint, and come back down to room temperature. Erratic climbing, overshoot, or a reading that will not move points at the heater or the temperature sensor.
- Check the hotend cooling fan. This small fan keeps the filament solid above the melt zone. When it stops or is obstructed, heat creeps upward, the filament softens where it should be firm, and the extruder jams and clicks. Confirm it spins freely by hand when cold, that it actually runs when the nozzle is hot, and that its duct is clear of dust and stray plastic.
- Check the extruder side if there is no flow at all. Look for a worn filament cutter blade adding drag, a missing cutter magnet, debris in the extruder gears, or a filament sensor that is not reading. These are usually visible on inspection.
- Fit a known good hotend if you have one. Power the machine off at the rear switch first, always. If a fresh hotend fixes it, the old one was the fault. If the same error follows a new hotend, the problem is upstream and it is time to stop.
Likely causes, ranked
| Likely cause | Typical signs | Who should fix it |
|---|
| Partial nozzle clog, wet filament or material cross-contamination | Clicking, weak flow, quality faults after a material change, popping during extrusion | You. Cheapest and most common. |
| Loose or damaged hotend mounting on your model | Hotend visibly moving with the clicking, first layer and levelling problems appearing together | You for the visual check only. Us for any adjustment or replacement. |
| Damaged hotend heat break, often after a collision or a blob | Repeat jams, material leaking from the top of a new hotend, heat creep symptoms | Replace the hotend assembly. |
| Hotend cooling fan failure or a blocked duct | Jams part way into prints, quiet or stalled fan, error appearing once hot | You for cleaning and checks. Us for wiring. |
| Heater or temperature sensor failure | Nozzle temperature malfunction, stuck or impossible readings, no heating at all | Hotend or heating assembly replacement, then us. |
| Control board fault | Error persists with a known good hotend, printhead completely unresponsive | Us. Workshop only. |
| Extruder sensors or cabling | No flow with no clicking, sensor errors, intermittent faults that move with the cable | Us. |
Ranking is a starting point, not a diagnosis. Plenty of these cases only resolve once the machine is in front of a technician, and sometimes the original cause is never confirmed because the evidence is destroyed by the failure itself. If we cannot confirm a root cause we will tell you that rather than invent one.
Fixes that usually work
- Dry filament and a clean nozzle. A drying cycle plus a nozzle clear resolves a large share of clicking cases outright.
- A fresh, correctly cut filament tip. Simple, and it removes the chewed section that keeps the fault alive.
- A correctly seated hotend. A hotend that is properly seated and retained, refitted using the official procedure for your exact model, can clear both the clicking and a stubborn levelling fault. Do not guess at fasteners or torque.
- A clean, working hotend cooling fan. Clear the dust, confirm it runs, and heat creep jams stop.
- A new hotend assembly. When the heat break or heater is damaged, replacement is faster and cheaper than diagnosis. Most machines have an official user install guide for this.
- Correct purging and the right material profile. For most switches between PLA, PETG and ABS this is all that is needed. Keep a dedicated hotend only where the material is abrasive or contamination sensitive, or where your model requires a specific hotend.
Safety and where to stop
Stop points
- Always power off at the rear switch before touching printhead connectors or changing a hotend. Live work here can destroy control boards, and that turns a small part into a big one.
- Burn marks, scorching, melted insulation, a burning smell, or a heater or bed climbing well past its setpoint: stop using the machine, unplug it and contact us. If it has tripped a breaker, do not keep resetting it.
- Do not open the base of the machine, and do not go near the power supply, mains wiring or the AC board. Do not swap control boards, do not test with a multimeter, and do not strip the machine down.
- Do not cut, splice or solder hotend or sensor wiring. We have seen one cut sensor wire lead to several further faults and a much larger repair.
- Do not disable, bridge or bypass any sensor, thermal cut-out or safety feature to get a print finished.
- Only poke at a nozzle with a cleaning needle if your machine's own documentation tells you to, and remember it is at printing temperature. Burns happen fast. If in doubt, leave it and use a cold pull instead.
Whether a given part or repair is covered depends on your machine, the manufacturer's terms and the outcome of an assessment. We will not make coverage promises in a general guide. Ask us and we will confirm your position before anything is done.
What to collect before you contact us
- The exact error code and wording, and roughly when it first appeared.
- Printer model, nozzle diameter and material, plus filament brand and whether it has been dried.
- A short video with sound of the clicking during load or purge. Audio is genuinely useful here.
- Photos of the printhead with the front cover off, including the hotend and the cooling fan area.
- Whether the nozzle heats at all, and what the temperature does on screen during a manual heat and cool test.
- Every step from this guide you have already tried, and the result of each.
- Log files from the machine if you are able to export them.
Hotend parts by printer family
These are relevant parts or complementary products, not a diagnosis. Confirm your exact printer model and the guide's troubleshooting result before ordering.
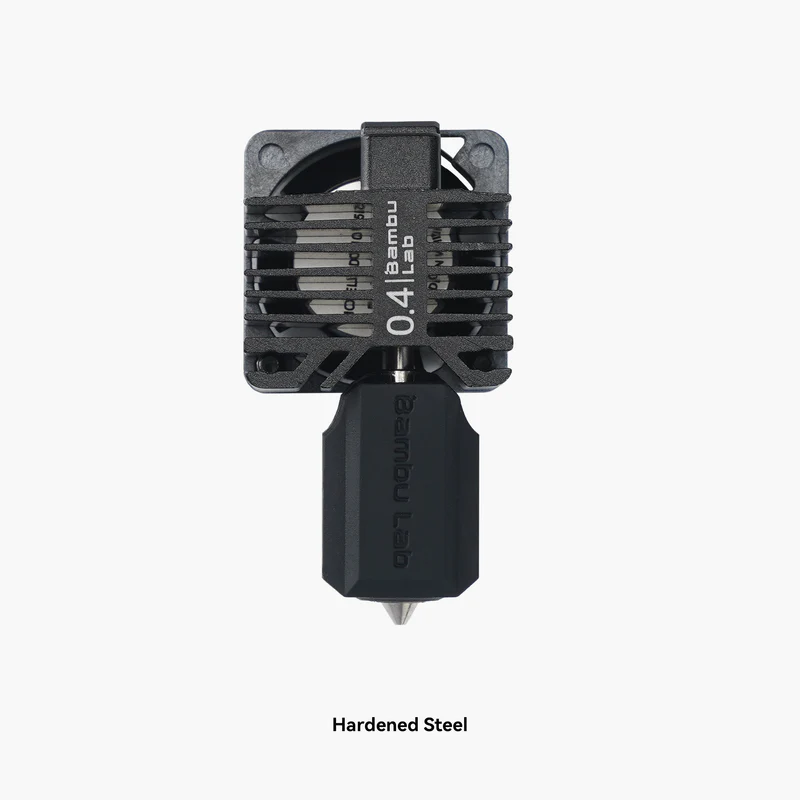
Check the model name before ordering.
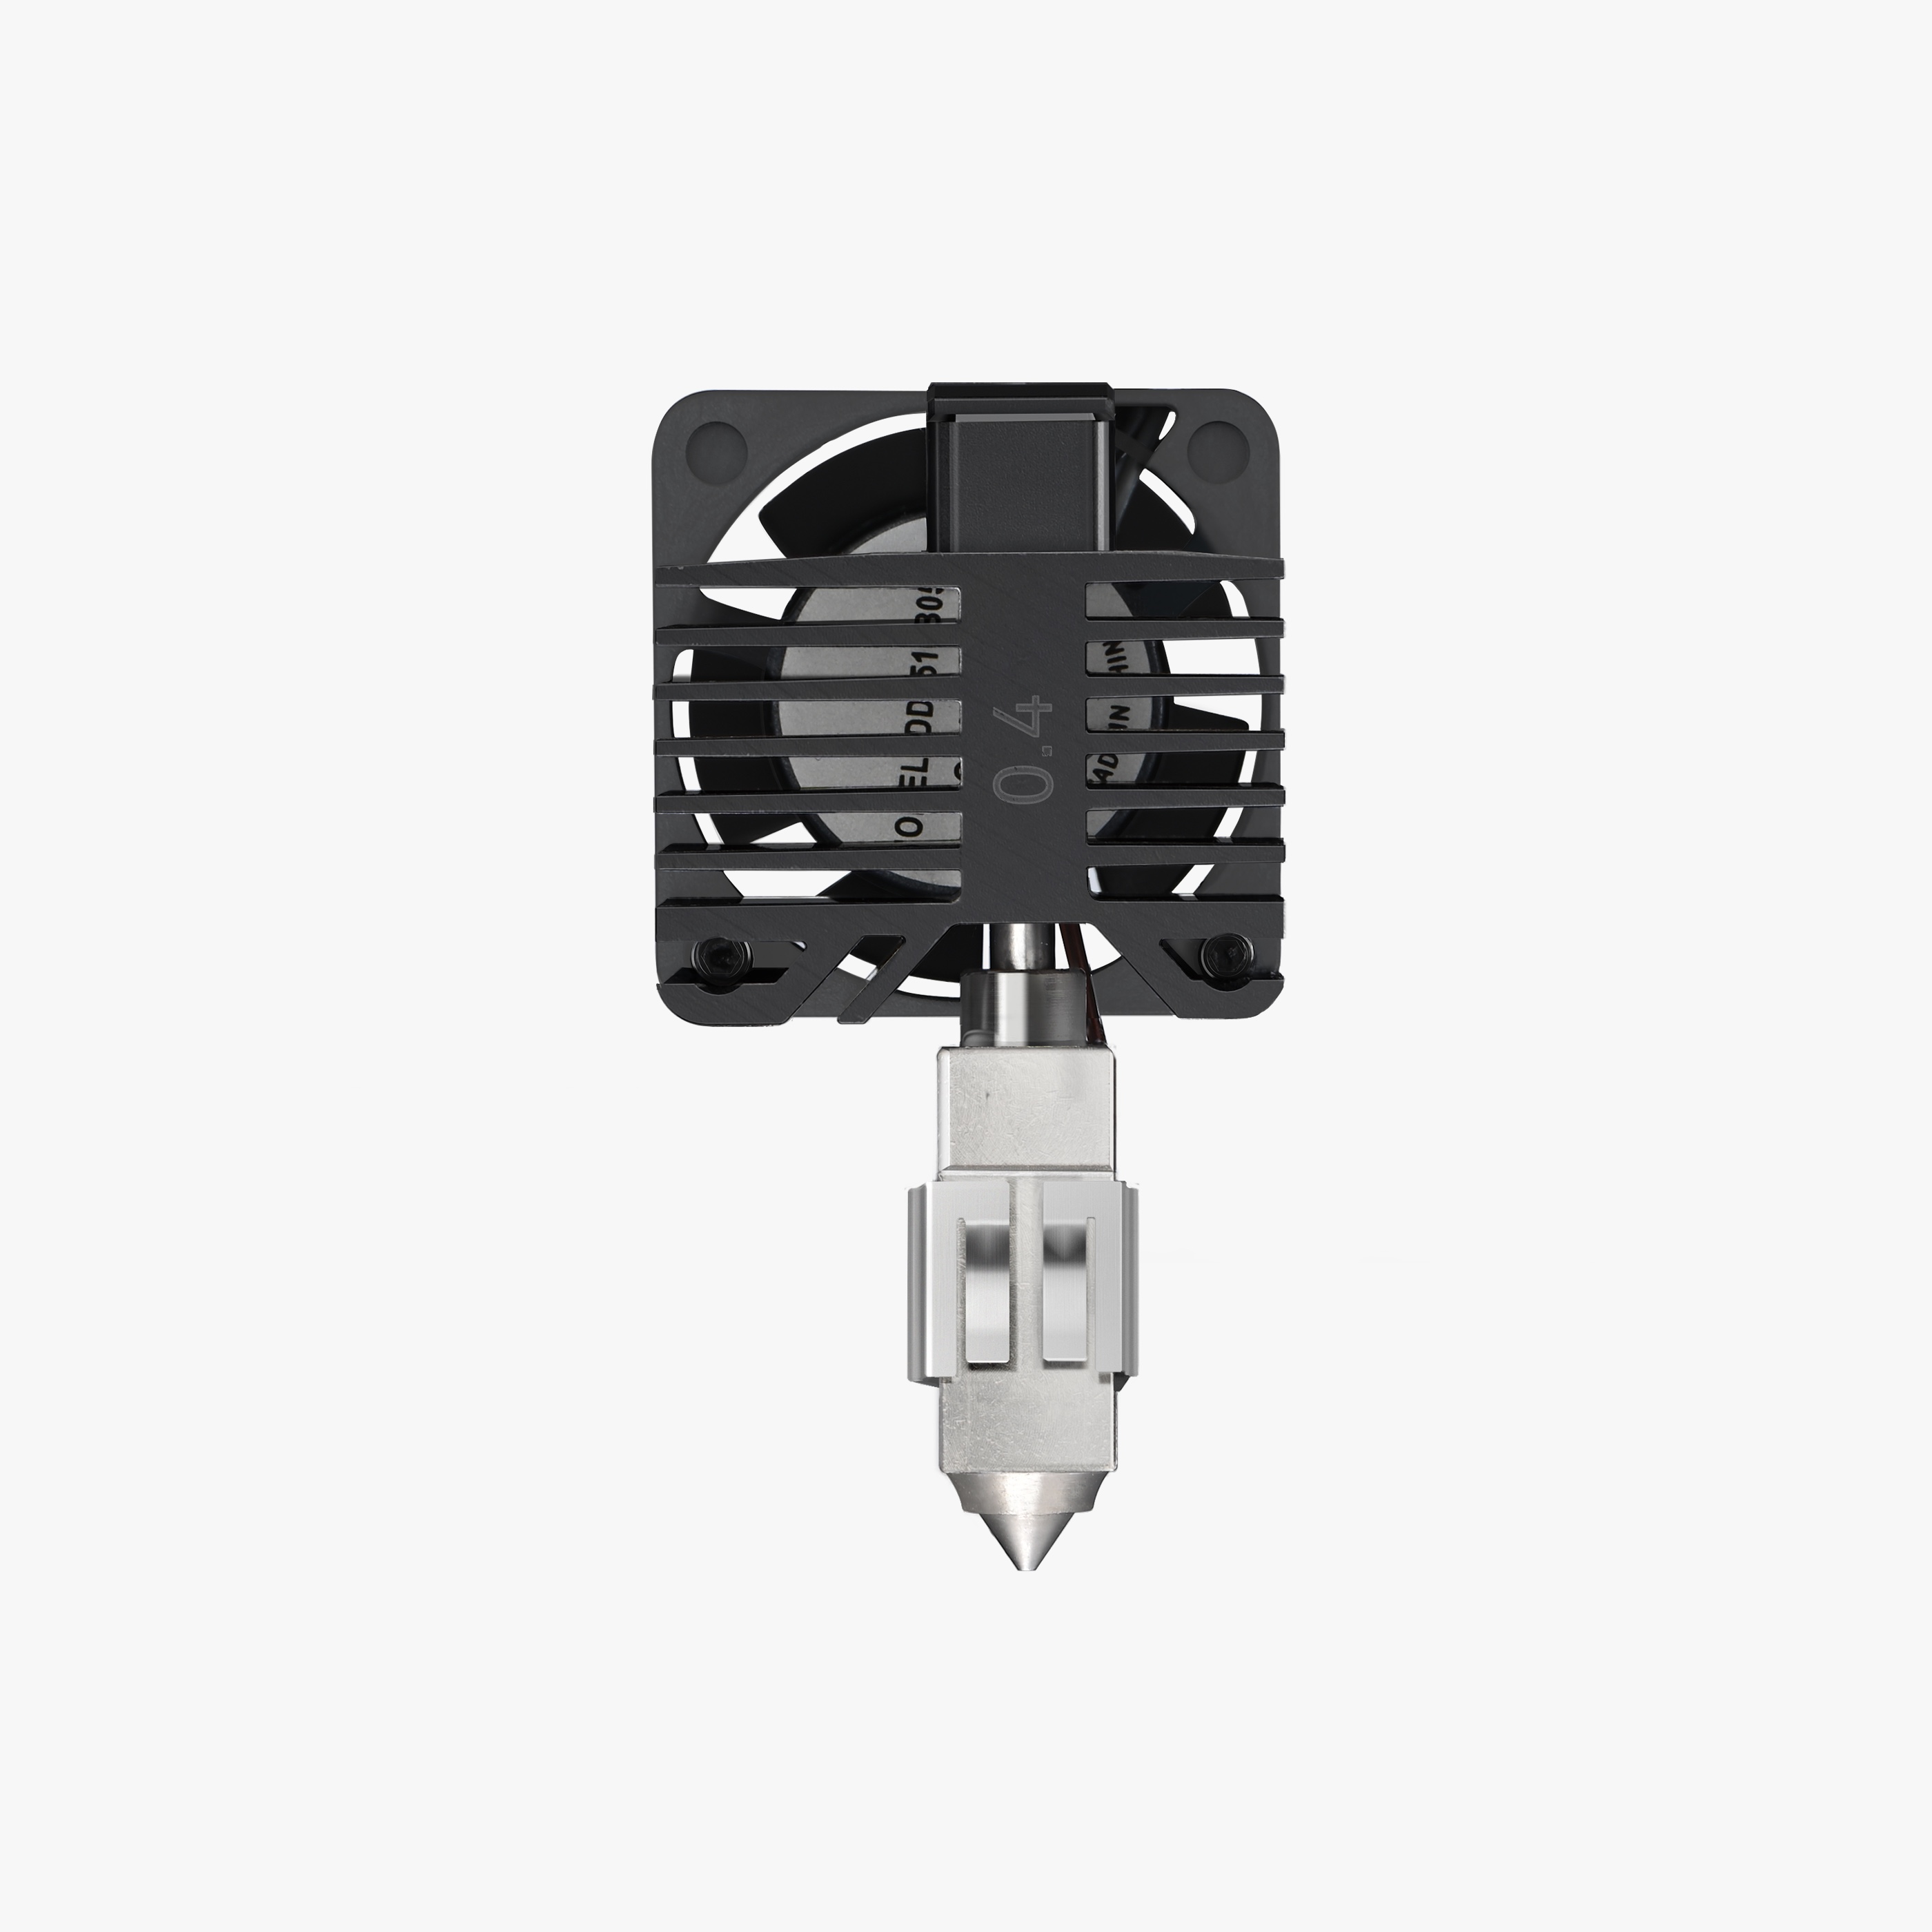
Check the model name before ordering.

Check the model name before ordering.
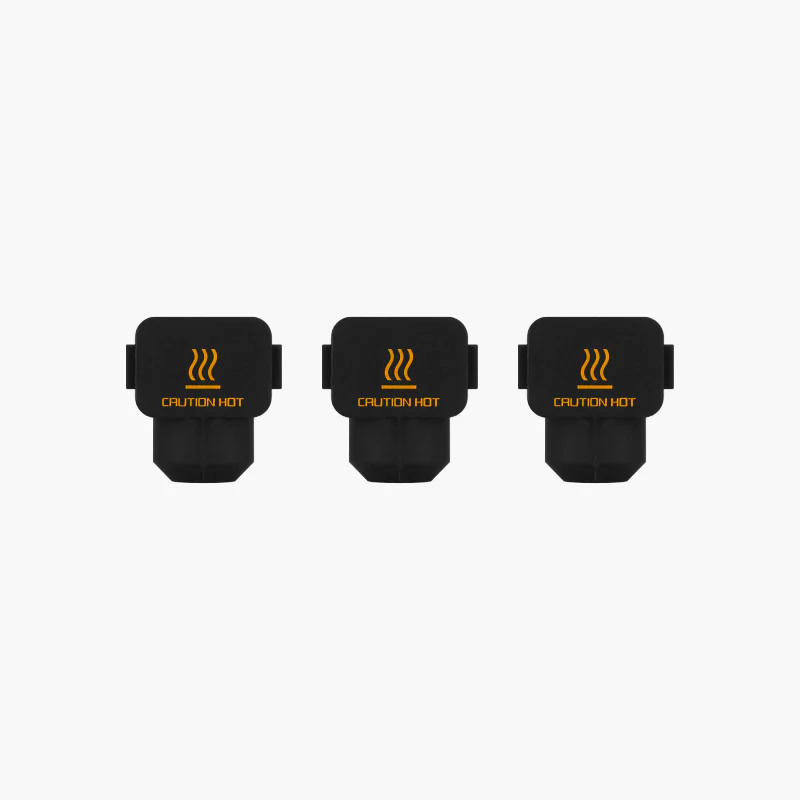
Check the model name before ordering.
Worked through the list and it is still not right? Send us your notes, photos and video through our contact page, or see the repair, bench service and on-site options on the MindKits services and training page. If you have hit any of the stop points above, unplug the machine and contact us before doing anything else.
This is general troubleshooting guidance only. The official documentation for your specific printer model takes precedence over anything here, and temperatures, menus and procedures vary between models and materials.