MindKits support guide | Updated 10 August 2026
PETG, ABS and ASA print problems: stringing, brittle filament and poor surface finish
Applies to:Bambu A1 seriesBambu P1SBambu X1 seriesBambu H2 seriesUltimakerTopics:PETGABSASAMoistureWarping
Most PETG, ABS and ASA print quality complaints we handle come down to moisture in the filament, a partially blocked nozzle, or slicer settings that were never calibrated or never saved. Moisture is by far the most common. All three absorb moisture from the air more readily than PLA, and in New Zealand humidity a brand new sealed spool can still print badly. They are not the most moisture-sensitive materials on the shelf: nylon, PVA and many TPU formulations need tighter moisture control again. Dry the filament first, then work through the checks below in order before you conclude the filament or the printer is faulty.
This is general troubleshooting guidance drawn from patterns across many machines and materials. Model-specific and material-specific official documentation always takes precedence over anything written here. Where this guide and your manufacturer's documentation disagree, follow the documentation for your exact model, firmware and filament.
Which printers and materials this covers
The cases behind this guide involve Bambu Lab A1 and A1 mini, P1S, X1 Carbon and X1E and the H2 series, along with AMS units, standalone dryers and some legacy Ultimaker machines. Materials include PLA and its blends, PETG, ABS and ASA, TPU, PVA and silk filaments. The moisture and flow logic applies to all of them, but menu paths, drying tools and hotend capabilities differ, so use your machine's own documentation for exact steps.
Symptoms that point here
Moisture is the common first check, but some symptoms point more strongly to flow restriction, unsaved calibration, plate setup or a temperature-control fault.
- Rough or fuzzy surface finish, or a texture that changes part way up the print.
- Stringing, whiskers and blobs, or material curling up and sticking to the nozzle.
- Filament that snaps in the feed tube or inside an AMS instead of bending.
- Extrusion stopping mid print, clicking from the extruder, or an extruder overload warning.
- Repeating banding or ripple marks on vertical surfaces.
- Purge waste dragged onto the plate, wrecking the print.
- Warped or curled overhangs, most often with ABS and ASA.
- A dryer or AMS getting far hotter than expected, deforming a spool, or shutting itself off during a dry cycle.
Diagnostic flow, in order
Dry first, then substitute a spool, inspect the flow path, confirm calibration, watch temperature behaviour and only then move to mechanical or multi-material checks.
1. Dry the filament, even if it is new
In our experience insufficient drying accounts for more print quality problems than anything else. A new vacuum-sealed spool can still contain enough moisture to affect printing. Material can absorb moisture during cooling, packaging, shipping, storage and use, so do not treat the packaging alone as proof that it is dry. PETG, ABS and ASA can all be moisture-affected. Nylon, PVA and many TPU formulations generally need tighter moisture control than these three, so treat drying as routine for all of them.
Where your printer has a built-in drying function, use it. It controls temperature for you and lets you pick the material so the right profile is applied. On many Bambu machines it sits in the printer menu under the settings icon, in the tool box section. Otherwise use a purpose-built filament dryer and follow its instructions.
Drying temperatures and times differ by material and by dryer, and running a spool too hot will soften or deform it. Use the material setting in your printer or dryer rather than picking a number yourself. Use a purpose-built dryer or the printer manufacturer's approved drying function rather than improvising a temperature or time.
2. Rule the spool in or out
Swap to a different spool, ideally another brand or batch, and run the same test print. Brand, batch and even pigment colour change how a filament behaves, so this is a genuinely useful test. Repeat it at another time if the fault is intermittent.
3. Handle brittle filament properly
If the strand snaps instead of bending, unspool and keep testing further along until it stops breaking, then cut off and discard the brittle section before loading. Brittle filament is a common cause of jams in feed tubes and AMS units.
4. Check your AMS or dry box humidity discipline
Check the humidity indicator and replace desiccant according to the product instructions, more often in a damp room or over winter. Saturated desiccant can sweat moisture back out, and we have seen droplets inside AMS housings cause corrosion on connectors and boards. If you find condensation or water inside an AMS, stop using it and contact us.
5. Inspect the nozzle and flow path
Look for build-up on the nozzle exterior and brush it off at the temperature your documentation specifies. PETG pulling up and sticking to the nozzle does not on its own prove a clog. Work through the other common reasons first: build-up or contamination on the nozzle exterior, too much first-layer squish, overextrusion, poor plate adhesion or preparation, and printing temperature. A partial restriction in the flow path is one possibility among those, not the default answer. Documented clearing methods include the supplied cleaning pin, pushing filament through hot, and a cold pull with cleaning filament. Some machines have an onboard cold pull routine, which is the easiest option.
Be aware of the limits. A cleaning pin clears a particle at the tip, not carbonised material baked onto the inner walls further up. A nozzle that keeps blocking after cleaning usually needs replacing, and a hardened steel nozzle suits abrasive or filled filaments.
6. Calibrate flow, and confirm it saved
Run flow rate and flow dynamics calibration for the specific filament, then check the result is saved and actually selected for the print. We regularly see calibrations that were performed but never applied. Also check that the print speed does not demand more material per second than your hotend can deliver. Standard and high-flow hotends differ significantly here, so use the figures in your machine's documentation rather than copying a profile from another printer.
7. Watch the hotend heat and cool
From the printer menu, heat the hotend and watch that it climbs at a steady, normal rate, then let it cool and confirm it returns to room temperature. Unstable temperatures, a reading that looks wrong for what the machine is doing, or a hotend cooling fan that is not running properly will all produce flow and quality faults that look like a filament problem. If anything here looks abnormal, stop and contact us.
8. Check for mechanical looseness
Movement in the hotend seat or heater assembly can let the nozzle shift under load, producing fuzzy surfaces and poor first layers that resemble a material fault. With the printer off and cool, check for visible movement and report it. Do not tighten fasteners without the exact official procedure and specification for your model.
9. Check the purge and wiper path
Confirm the nozzle wiper is fitted beside the purge area and making proper contact. PETG in particular is prone to hooking onto the nozzle and dragging waste across the plate, which then knocks the print loose.
10. Multi-material hygiene
When you switch between soft and rigid materials, purge thoroughly and use the correct filament profile. That is normally enough. A dedicated hotend is not the standard answer for TPU: whether one helps depends on your printer, the hardness of the TPU, the feed path and any model-specific hotend restrictions, so check your own model documentation and the filament manufacturer's guidance before buying hardware.
11. Banding and ripple marks
Take clear photos of the defect and a short video of the machine printing. Also check what the printer stands on. Some benches resonate enough to affect calibration and finish, so moving it to a solid, level surface is a free test.
Material-specific guidance
After drying and basic flow checks, PETG problems usually centre on nozzle pickup and first-layer squish, while ABS and ASA need a stable warm environment and controlled cooling.
The checks above apply to all three materials. The points below are where they genuinely differ, so read the part that matches what you are printing.
PETG
- Moisture shows up first as stringing, whiskers, popping or hissing sounds and a rough or foamy surface. Dry the spool before changing any settings.
- PETG likes to pull up onto the nozzle and drag waste across the plate. Check the nozzle wiper, the nozzle exterior for build-up, and your first-layer squish before assuming a blockage.
- Too much first-layer squish is a common PETG complaint, because PETG bonds strongly and a squashed first layer leaves ridges and pickup. Adjust in small steps and record what you changed.
- Plate choice matters. PETG can bond very hard to some smooth plates, so follow the plate guidance for your printer and use a release agent where the manufacturer recommends one.
- Retraction, travel and temperature tuning helps with stringing, but only once the filament is genuinely dry.
ABS and ASA
- These materials need a stable, warm environment. An enclosed printer, or the enclosure accessory documented for your model, makes the biggest difference.
- Control draughts. An open window, a fan or a cold workshop will cause warping and layer splitting even with correct temperatures.
- Use the bed and chamber temperatures in your printer's own material profile rather than numbers copied from another machine, and give the chamber time to come up to temperature before the print starts.
- Warping and lifting corners usually point to environment, plate preparation or part geometry rather than the filament itself. Larger brims, fillets on sharp corners and reduced cooling all help.
- Layer splitting between layers is a bonding problem: check chamber temperature, part cooling settings and print temperature within the filament manufacturer's range.
- Ventilation matters for people, not just prints. ABS and ASA give off odour and particulate, so print in a well ventilated space, keep any activated carbon filter in good condition, and do not run them in an unventilated classroom or small closed office.
Likely causes, most to least common
Ranked by how often we see each cause in real support cases.
| Likely cause | Typical signs | Where to start |
|---|
| Moisture in the filament | Stringing, rough finish, brittle strand, popping sounds | Step 1 |
| Partial nozzle blockage or carbonisation | Under-extrusion, clicking, purge curling onto the nozzle | Step 5 |
| Uncalibrated or unsaved flow and temperature settings | Dimensional errors, over or under extrusion | Step 6 |
| Saturated AMS or dry box desiccant | Quality degrades over weeks, condensation inside | Step 4 |
| Loose hotend or heater assembly | Fuzzy surfaces plus first layer problems together | Step 8 |
| Wrong plate or prep, and warping | Lifting corners and curled overhangs on ABS or ASA | See our first layer guide |
| Hotend cooling fan or temperature control fault | Unstable or implausible temperature readings | Stop and contact us |
| Faulty dryer or AMS drying function | Spool deforms, or the unit powers off mid dry cycle | Stop and contact us |
Fixes that have worked
- Drying the filament properly, which resolved a large share of brittleness and surface finish complaints outright.
- Clearing a partial blockage with the cleaning pin and a purge, which restored extrusion mid diagnosis.
- Cleaning residue out of the extruder path after a troublesome filament, then adopting drying as routine practice.
- Replacing worn AMS feed hardware and cleaning the filament hub sensors, as a workshop job.
- A bench nozzle clean and service where a nozzle would not come right at home.
Some cases never reached a confirmed root cause, including a fuzzy surface complaint, a banding complaint, a dryer running over temperature and an AMS shutting down mid dry cycle. Those remain open questions, and we will not present a hypothesis as a confirmed cause. In one case what looked like contamination was factory lubricant, not a fault.
Where to stop, and what not to do
Stop, switch the machine off at the wall and unplug it, then contact us if any of the following apply.
- Temperature readings are unstable, or clearly wrong for what the machine is doing.
- A dryer or AMS overheats, deforms a spool, or shuts itself off during a dry cycle. Treat that as a temperature control fault, not something to tune around.
- There is water or corrosion inside an AMS or any electronics.
- You smell burning, or see scorching, melted connectors or discoloured wiring.
- The hotend is fused solid with plastic, or the heater area looks damaged.
Please leave the following to us or an authorised technician: mains wiring, power supplies, the AC board and any circuit board, board swaps, multimeter testing, and any disassembly beyond your model's documented user maintenance. Do not pull print heads or extruders apart to investigate. In one case a dismantled print core led to a levelling failure and an expensive replacement part. Never bypass or defeat a thermal cutout, interlock or sensor. Moisture damaged boards are a parts and repair job, not a field fix.
Work carried out outside documented user maintenance can affect what is covered, so if you are unsure whether a step belongs to you or to us, ask first. On suspected filament faults our process is to dry, recalibrate and substitute a spool before looking at the filament itself.
Preventing it happening again
- Dry filament before use, and treat it as compulsory for PETG, ABS, ASA, TPU and PVA.
- Store spools sealed with fresh desiccant, or in a dry box, not open on a shelf.
- Replace AMS or dry-box desiccant according to its indicator or official instructions, and check for condensation.
- Keep a saved flow rate and flow dynamics calibration for each filament you use regularly.
- Use a hardened nozzle for abrasive or filled filaments, and check your printer's documented requirements before printing flexible filament.
- Keep the nozzle wiper fitted and making contact.
- Keep the printer on a solid surface in a warm, draught free room.
What to send us if you need help
- Printer model, nozzle type and size, and filament brand, material and colour.
- Whether the filament was dried, by what method, and for how long.
- Sharp, well lit close up photos of the defect, with a scale reference beside the part.
- A short video if the problem is audible or visible in motion, such as clicking or purge dragging.
- Any error message, photographed or typed out exactly as shown.
- The slicer profile you used and whether flow calibration was run and saved.
- Which steps above you have tried, and what changed each time.
- Whether the same fault happens with a different spool or a different material.
Materials and setup items that complement this guide
These are relevant parts or complementary products, not a diagnosis. Confirm your exact printer model and the guide's troubleshooting result before ordering.
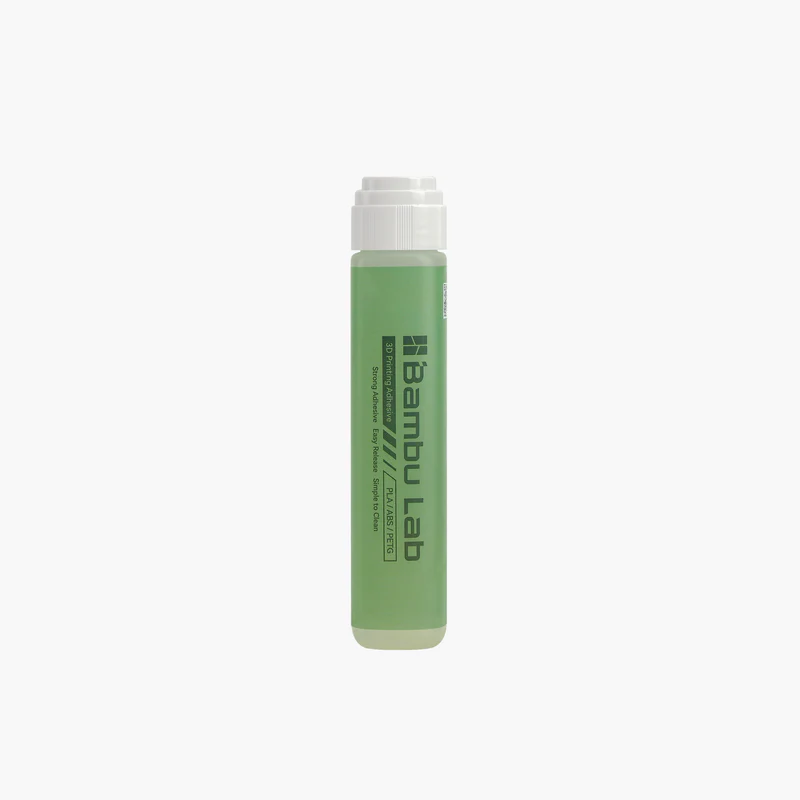
Check the model name before ordering.
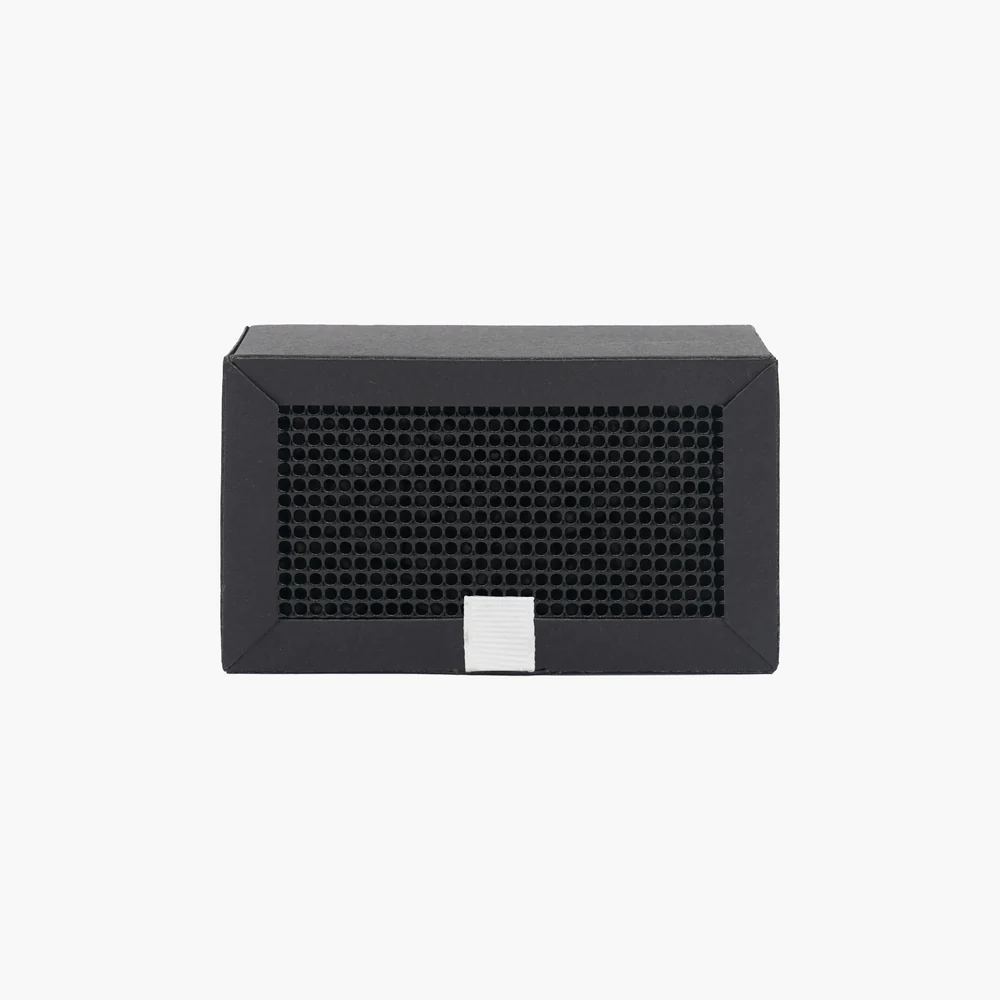
Check the model name before ordering.
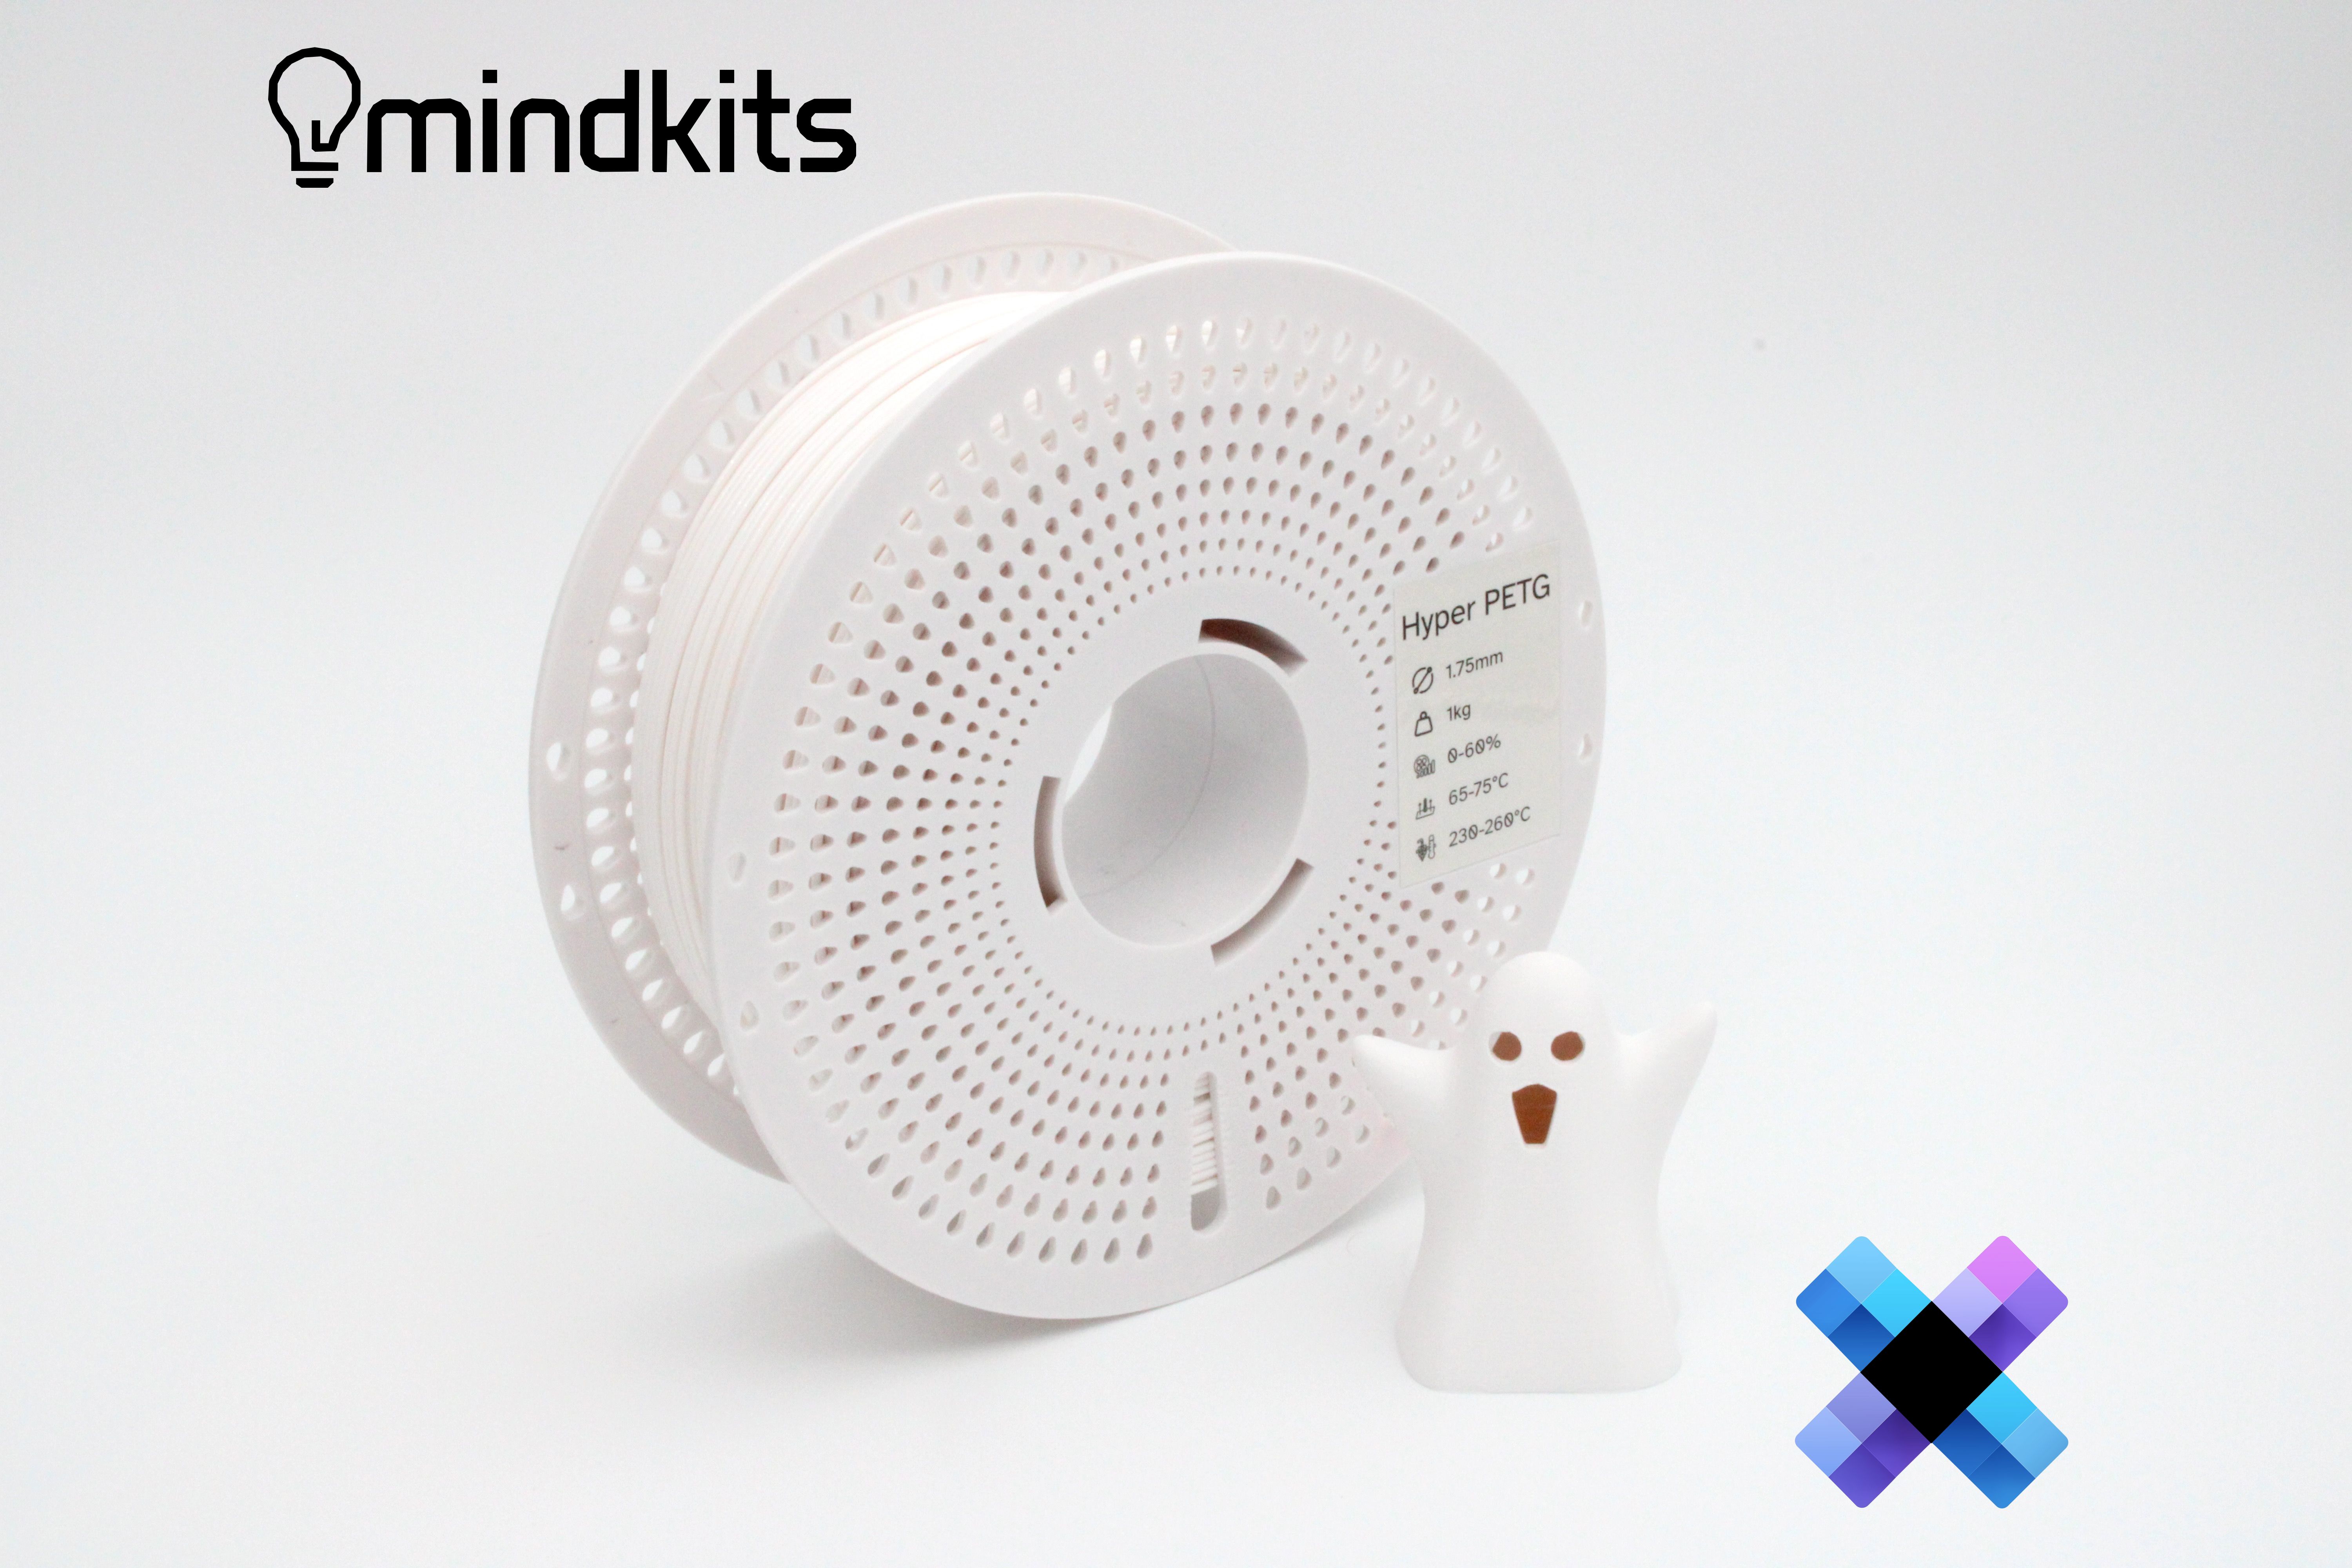
Check the model name before ordering.
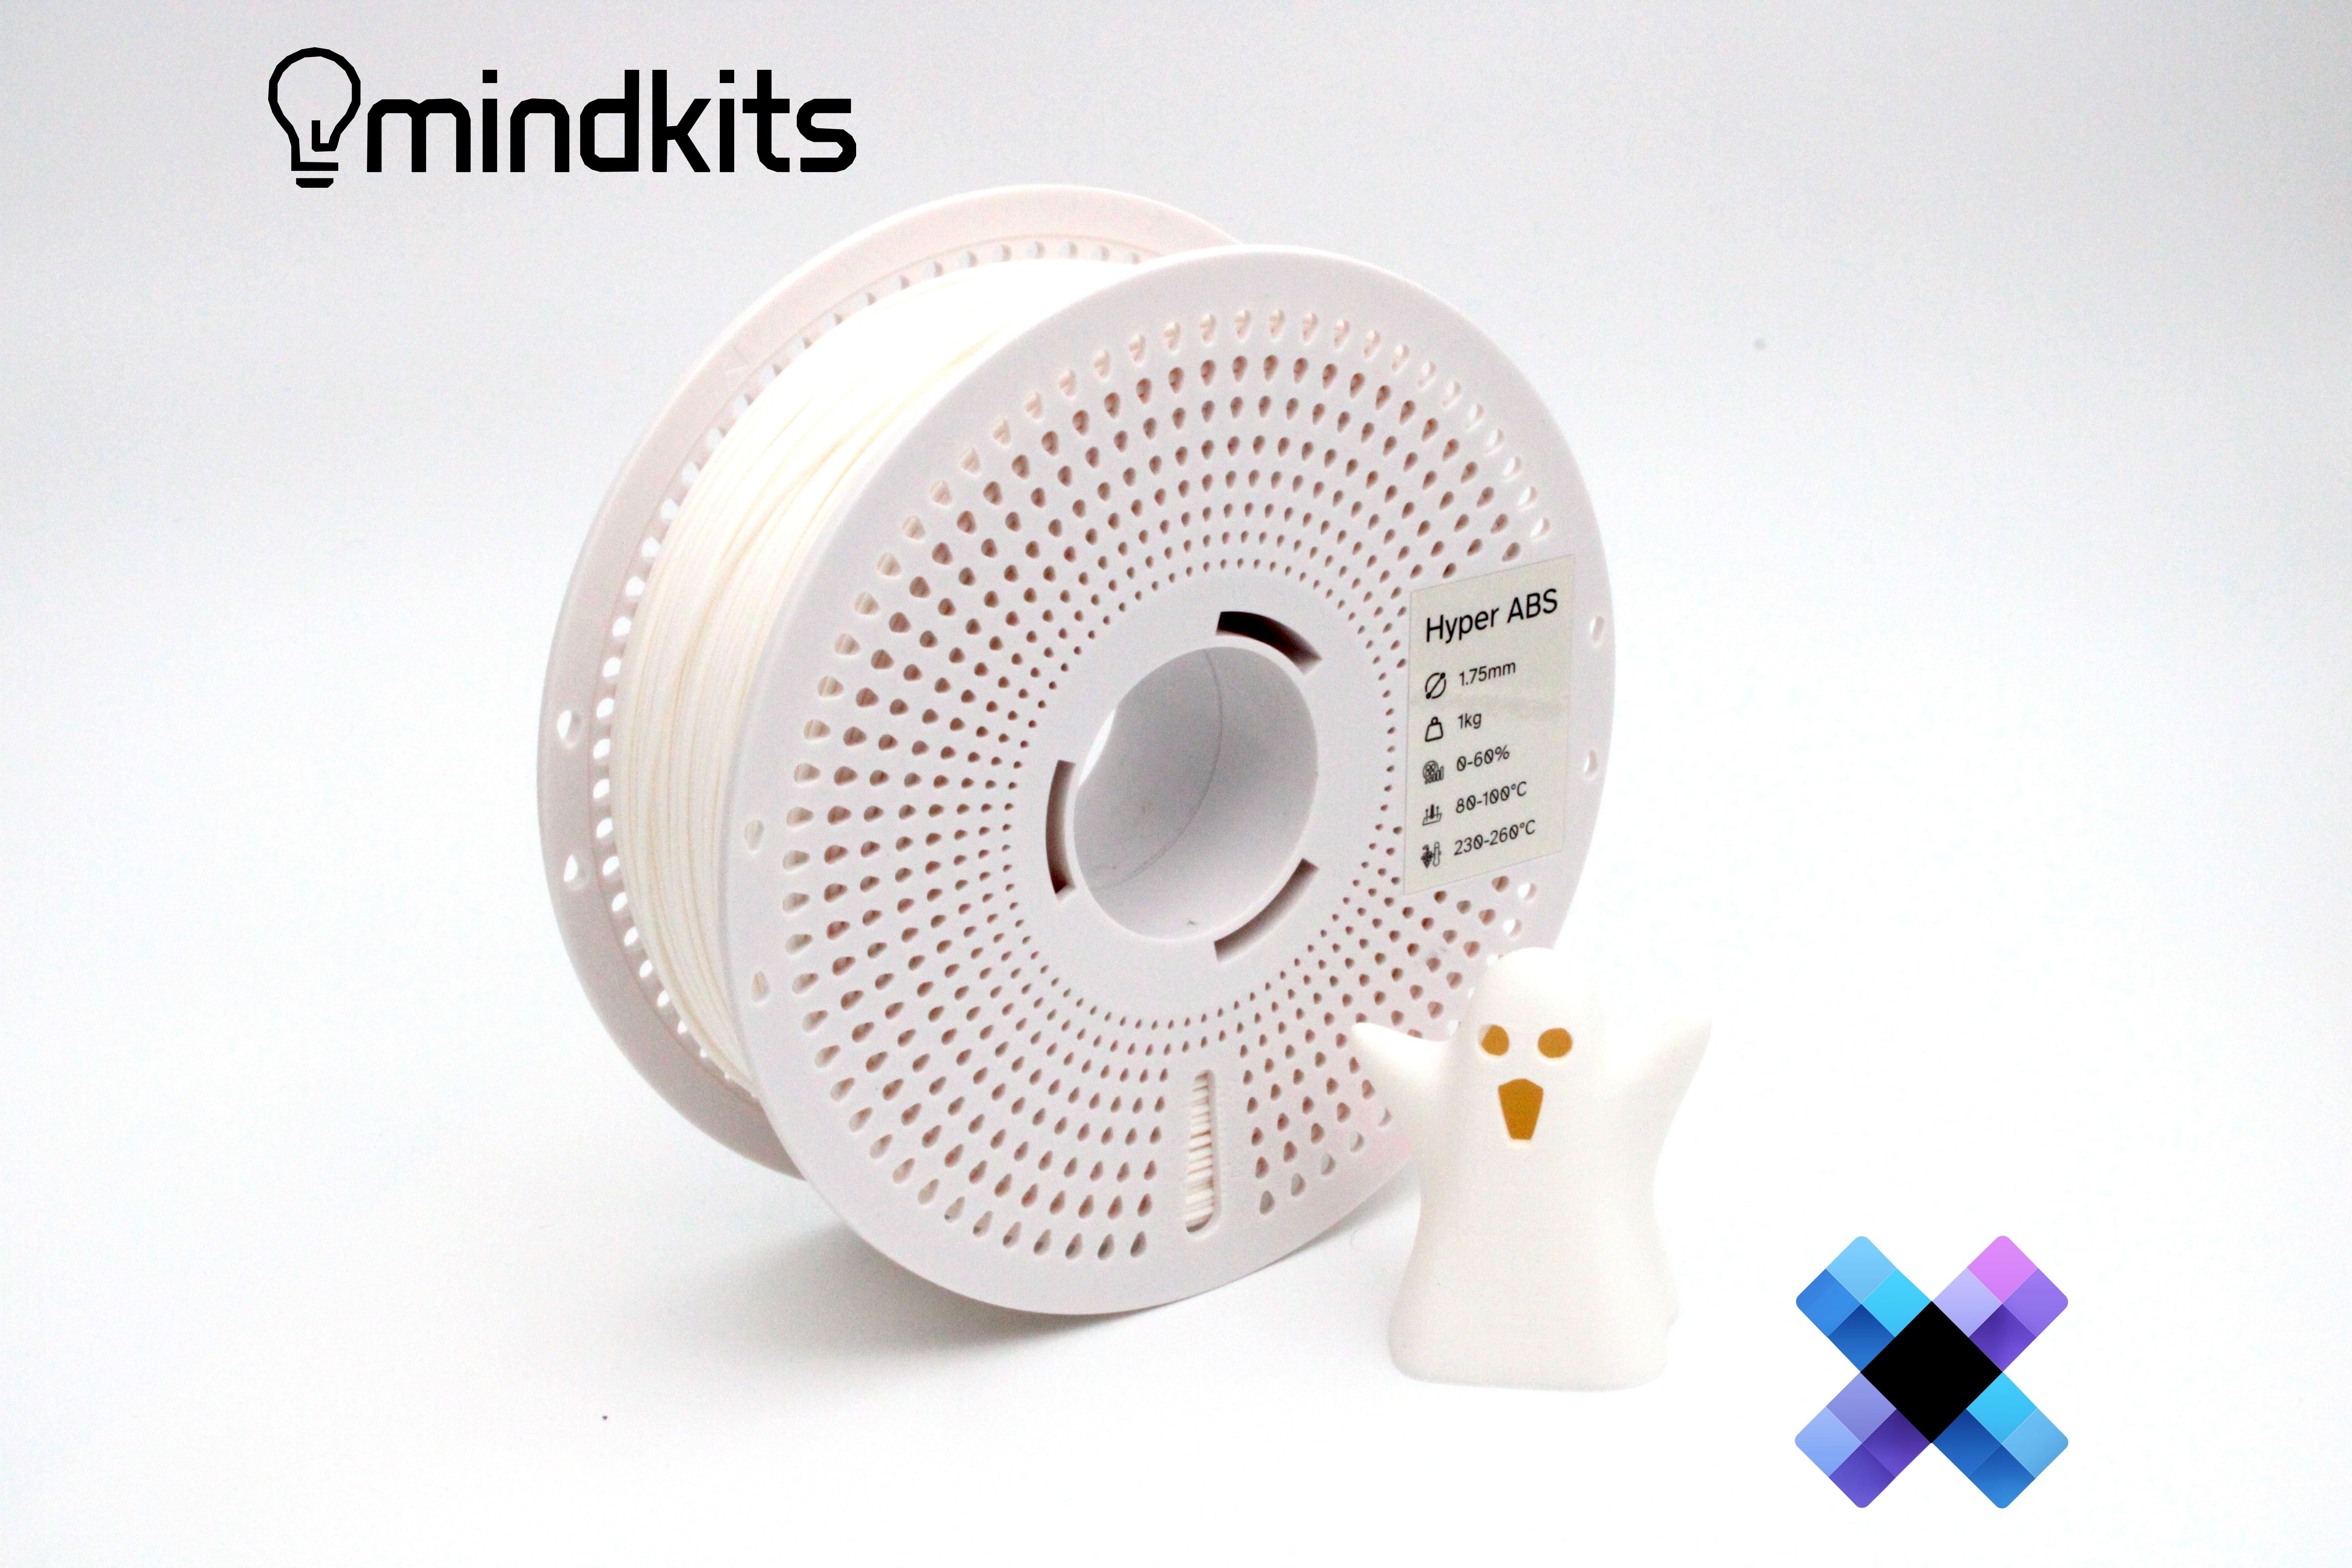
Check the model name before ordering.
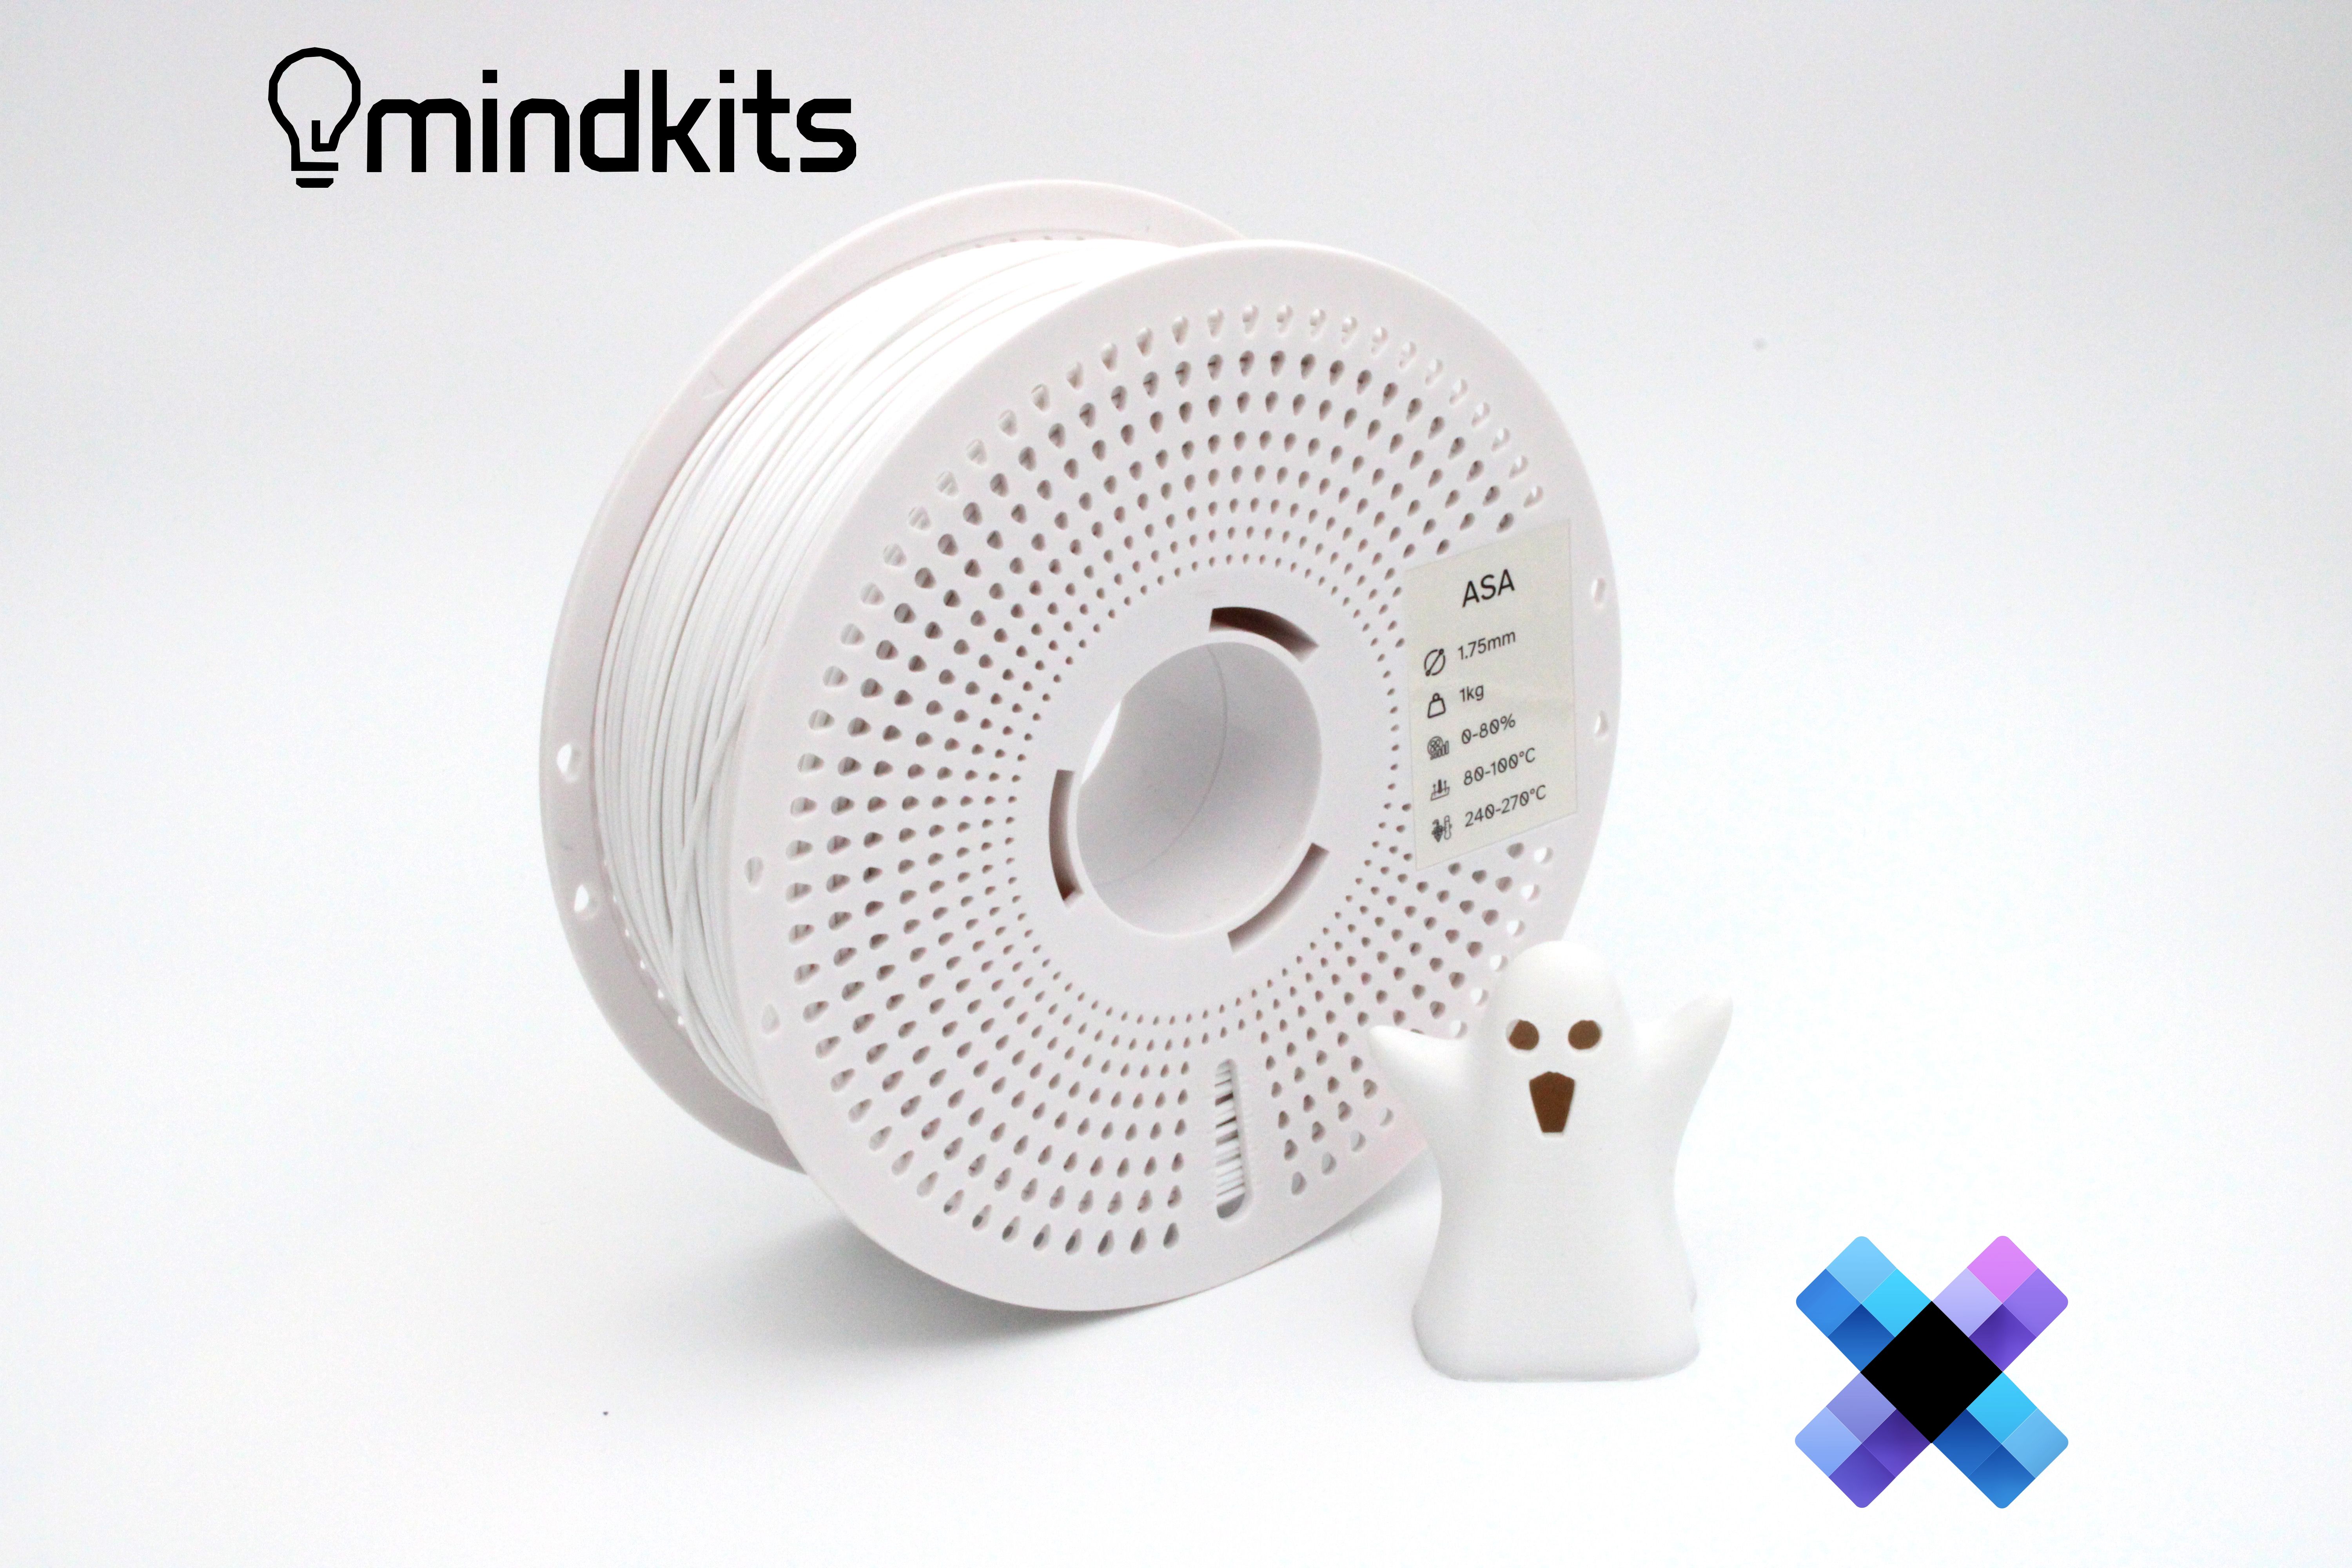
Check the model name before ordering.
Still stuck? Send us the details above through our contact page and we will pick it up from there. For workshop servicing, nozzle work and training options, see our services and training page.
If the problem is specifically the first layer lifting or not sticking, start with our first layer and build plate adhesion guide instead.