MindKits support guide | Updated 10 August 2026
First layer and build plate adhesion failures on Bambu Lab printers
Applies to:Bambu A1 seriesBambu P1 seriesBambu X1 seriesBambu H2 seriesOther FDM printersTopics:First layerBuild plateBed adhesionCalibration
If your first layer will not stick, lifts at the corners, or looks squashed and over-extruded, the most common causes include a contaminated build plate, the wrong plate selected for the material you are running, nozzle contamination, wet filament, nozzle or bed temperature, first-layer speed or flow settings, model geometry such as small contact areas, cooling or draughts, and mechanical looseness around the heatbed or hotend that quietly upsets bed levelling. Work through the checks below in order, from cleanest and lowest risk to most involved, and stop at the first one that changes the result.
This is general troubleshooting guidance built from patterns we see across many machines. Model-specific official documentation from the manufacturer always takes precedence over anything here. If the two disagree, follow the manufacturer's documentation for your exact model and firmware version.
Which printers this applies to
The patterns here come from cases across the Bambu Lab A1 and A1 mini, P1P and P1S, X1 Carbon and X1E, and the H2 series, plus some overlap with other machines such as legacy Ultimaker and Klipper based printers. Plate types involved include textured PEI, smooth PEI, dual texture plates, and third party high grip plates. The general logic applies broadly, but menu names, calibration routines and fastener layouts differ between models, so check your own machine's documentation for the exact steps.
Symptoms that point here
Different first-layer shapes point toward contamination, excessive squish, local plate flatness, environmental warping, or setup hardware.
- Nothing sticks at all, and even the purge or prime line peels straight off the plate.
- The print starts fine, then detaches part way through, leaving stringy waste or a lump of plastic built up around the nozzle.
- The first layer looks squashed and glossy, as if there is no gap between nozzle and plate, with an over-extruded appearance.
- Corners lift and the base warps, most often with ABS or ASA, and much more often in a cold room.
- Levelling or heatbed related errors on the screen, or a first layer scan that will not complete.
- Adhesion fine in the middle of the plate but poor near one edge or one corner.
- On a brand new machine, the bed feels stiff, grinds, or jams as it moves.
Diagnostic flow, in order
Start with transport hardware on a new machine, then plate cleaning, surface swapping, seating, material setup, room conditions, calibration and movement checks.
1. New machine only: confirm the transport hardware is dealt with
If the printer is new and the bed grinds or jams, check that the transport screws underneath the heatbed were removed during setup, and that the screws you were told to fit are fully tightened. With the printer switched off and unplugged, check for obvious binding. Do not move the axes by hand across the full travel as a blanket test, because bed-slinger machines such as the A1 series and CoreXY machines such as the P1, X1 and H2 series have very different motion assemblies. Follow the setup and maintenance guide for your exact model, and do not force anything.
2. Clean the plate properly, and rinse it
This is the single most common fix we give. Wash the plate with dish soap and warm water, then rinse thoroughly. Leftover soap film is itself a release agent, so a poor rinse can look exactly like a dirty plate. Avoid soaps with added skin creams or rinse aid, and avoid window cleaner, which we do not recommend. Once the plate is dry, handle it by the edges only, because skin oils on the printing surface are enough to cause a failure. Isopropyl alcohol wipes between full washes are widely used, but soap and water is the default we recommend.
3. Swap the surface
A controlled plate swap separates a surface problem from a machine-side problem without changing several variables at once.
Try the other side of the plate, or a different plate, or the same plate on a different printer if you have one. This is a fast way to find out whether the fault follows the plate or stays with the machine, and it saves a lot of guessing later.
4. Check the plate is sitting flat
Look along all four corners. The plate should sit flush against the heatbed with no lift or rocking. Anything bent or dished will show up as adhesion that is fine in some areas and poor in others, and swarf or a stray fragment of plastic trapped under the plate has the same effect, so check the heatbed surface is clean too. Weakened bed magnets are a rare technician check rather than a likely cause, and it is not something to chase before the checks above.
5. Match the plate and prep to the material
Check that the plate selected in the slicer matches the plate actually fitted, because a mismatch changes the first-layer settings the printer uses. ABS and ASA can print successfully on textured PEI when the bed temperature, enclosure and plate preparation are right, so do not assume the plate is wrong. If those materials are lifting, a glue stick and a brim on the model often solve it, and some combinations do better on a smooth plate with glue. PLA is far more forgiving. PETG has its own quirks and is covered in our material and print quality guide. Plate to material pairing is model specific, so check your machine's documentation rather than assuming.
6. Deal with the filament and the room
Wet filament shows up as a bad first layer surprisingly often, so dry the spool before spending time on mechanical checks. Cold ambient temperature is the other big one. In a New Zealand winter, an unenclosed printer in a cold garage will cool the part faster than it can hold onto the plate, which is what produces corner lift. Move the machine somewhere warmer and out of any draught. For ABS and ASA, letting the bed heat soak for roughly ten to fifteen minutes before starting makes a real difference, particularly on machines without active chamber heating. Bed temperature figures vary by material and machine profile, so use the manufacturer's profile for the filament you are running rather than a number from a forum.
7. Recalibrate, and confirm it saved
Match the calibration to what actually changed. If you have altered anything that affects the gap between nozzle and plate, rerun the machine's bed levelling or first-layer calibration routine. Flow rate and flow dynamics calibration are about the filament and extrusion, so run those when you change filament or are chasing an over-extruded or under-extruded first layer, not automatically after every mechanical adjustment. Then check that the calibration result actually saved and is selected for the print. We see cases where the calibration was done but never applied.
8. Check for movement around the bed and hotend
Movement in the heatbed, heater assembly or hotend latch can quietly corrupt bed levelling. With the printer powered off and cool, check visually and by gentle observation only. If the heatbed, hotend or heater assembly moves, record it and contact us. Do not tighten fasteners unless your model's official user-maintenance guide provides the exact location, sequence and specification.
9. Sensor and firmware checks
If levelling still fails, take a clear photo of the levelling sensor area and keep it for support. Damage there affects levelling directly and is not something to poke at. Record the installed firmware version rather than updating as a reflex, and check the release notes or manufacturer support advice before changing it. If the fault clearly began right after a firmware update, tell us the version you were on and the version you are on now.
Likely causes, most to least common
Ranked by how often we see each cause in real support cases.
| Likely cause | Typical signs | Where to start |
|---|
| Plate contamination, soap residue or skin oils | Nothing sticks anywhere, including purge lines | Steps 2 and 3 |
| Wrong plate selected, or wrong prep for the material | ABS or ASA lifting, PLA fine | Step 5 |
| Wet filament | Rough first layer, popping sounds, poor surface | Step 6 |
| Loose heatbed, heater assembly or hotend retention | Squashed first layer, levelling drifts once hot | Steps 8, then 7 |
| Cold room or no heat soak | Corner lift, worse in winter or overnight | Step 6 |
| Levelling sensor fault | Repeated levelling errors after cleaning and recalibration | Step 9, then contact us |
| Heatbed or power electronics fault | Wrong or wildly wrong bed temperature, breaker trips | Stop and contact us |
| Transport lock or assembly issue on a new machine | Bed grinds or jams | Step 1 |
Fixes that have worked
- A proper soap and water wash with a thorough rinse, then handling the plate by the edges only.
- Adding a glue stick and a brim for ABS and ASA, and in some cases moving them to a smooth plate.
- Drying the filament before the print, then rerunning flow calibration.
- Repairing confirmed movement in the bed or heater assembly, then recalibrating. This should follow the model-specific official procedure or be handled by our workshop.
- Warranty heatbed or component replacement where the fault was genuinely electrical. Note that a replacement bed may need levelling or tramming afterwards.
Not every case ends with a confirmed root cause. Where a fault has been fixed by replacing a part, that tells us the part was faulty, but some quality complaints in our records were never traced to a single confirmed cause. We would rather say that than guess.
Where to stop, and what not to do
Stop, switch the printer off at the wall and unplug it, then contact us if any of the following apply.
- The bed heats to a temperature far above what you set, or the reading looks impossible.
- The machine trips a breaker or RCD, or you smell burning, or you see scorching or discoloured wiring.
- The hotend is fused into a solid lump of plastic, or anything around the heater looks damaged or deformed.
- Levelling still fails after cleaning, recalibration and a firmware check.
Please leave the following to us or to an authorised technician: anything involving mains power, the power supply, the AC board or any circuit board, board swaps, multimeter testing, and disassembly beyond the documented user maintenance steps. Never use a heat gun on the print head, and never bypass, tape over or defeat a safety interlock, thermal cutout or sensor. Do not turn levelling lead screws independently to force a level bed, because that can put the whole gantry out of alignment and turn a small job into a large one.
Some board level work also requires the printer to be re-registered with the manufacturer, which is a vendor process rather than a home repair. Work you carry out yourself outside documented user maintenance can affect what is covered, so if you are unsure whether a step is yours or ours, ask first.
Preventing it happening again
- Wash the plate regularly with dish soap and warm water, and rinse it well.
- Handle plates by the edges, or wear clean gloves.
- Use a glue stick and a brim for ABS and ASA, and keep the machine enclosed and up to temperature.
- Dry filament before use and store it sealed with fresh desiccant.
- Keep the printer somewhere warm and draught free.
- Watch the first layer finish before you walk away from a long print.
- Recalibrate the routine that matches the work you did, and confirm the result saved.
What to send us if you need help
Good evidence turns a week of back and forth into one reply. Please include:
- Printer model, plate type, and filament brand and material.
- Whether the filament was dried, and how.
- Sharp, well lit photos of the failed first layer on the plate, and of the plate surface itself.
- A photo of the underside of the failed part.
- Any error message shown, photographed or typed out exactly.
- A short video if the fault is something happening in motion, such as the bed grinding.
- Which steps above you have already tried, and what changed.
- Room temperature and whether the machine is enclosed.
Plate-care and replacement options
These are relevant parts or complementary products, not a diagnosis. Confirm your exact printer model and the guide's troubleshooting result before ordering.
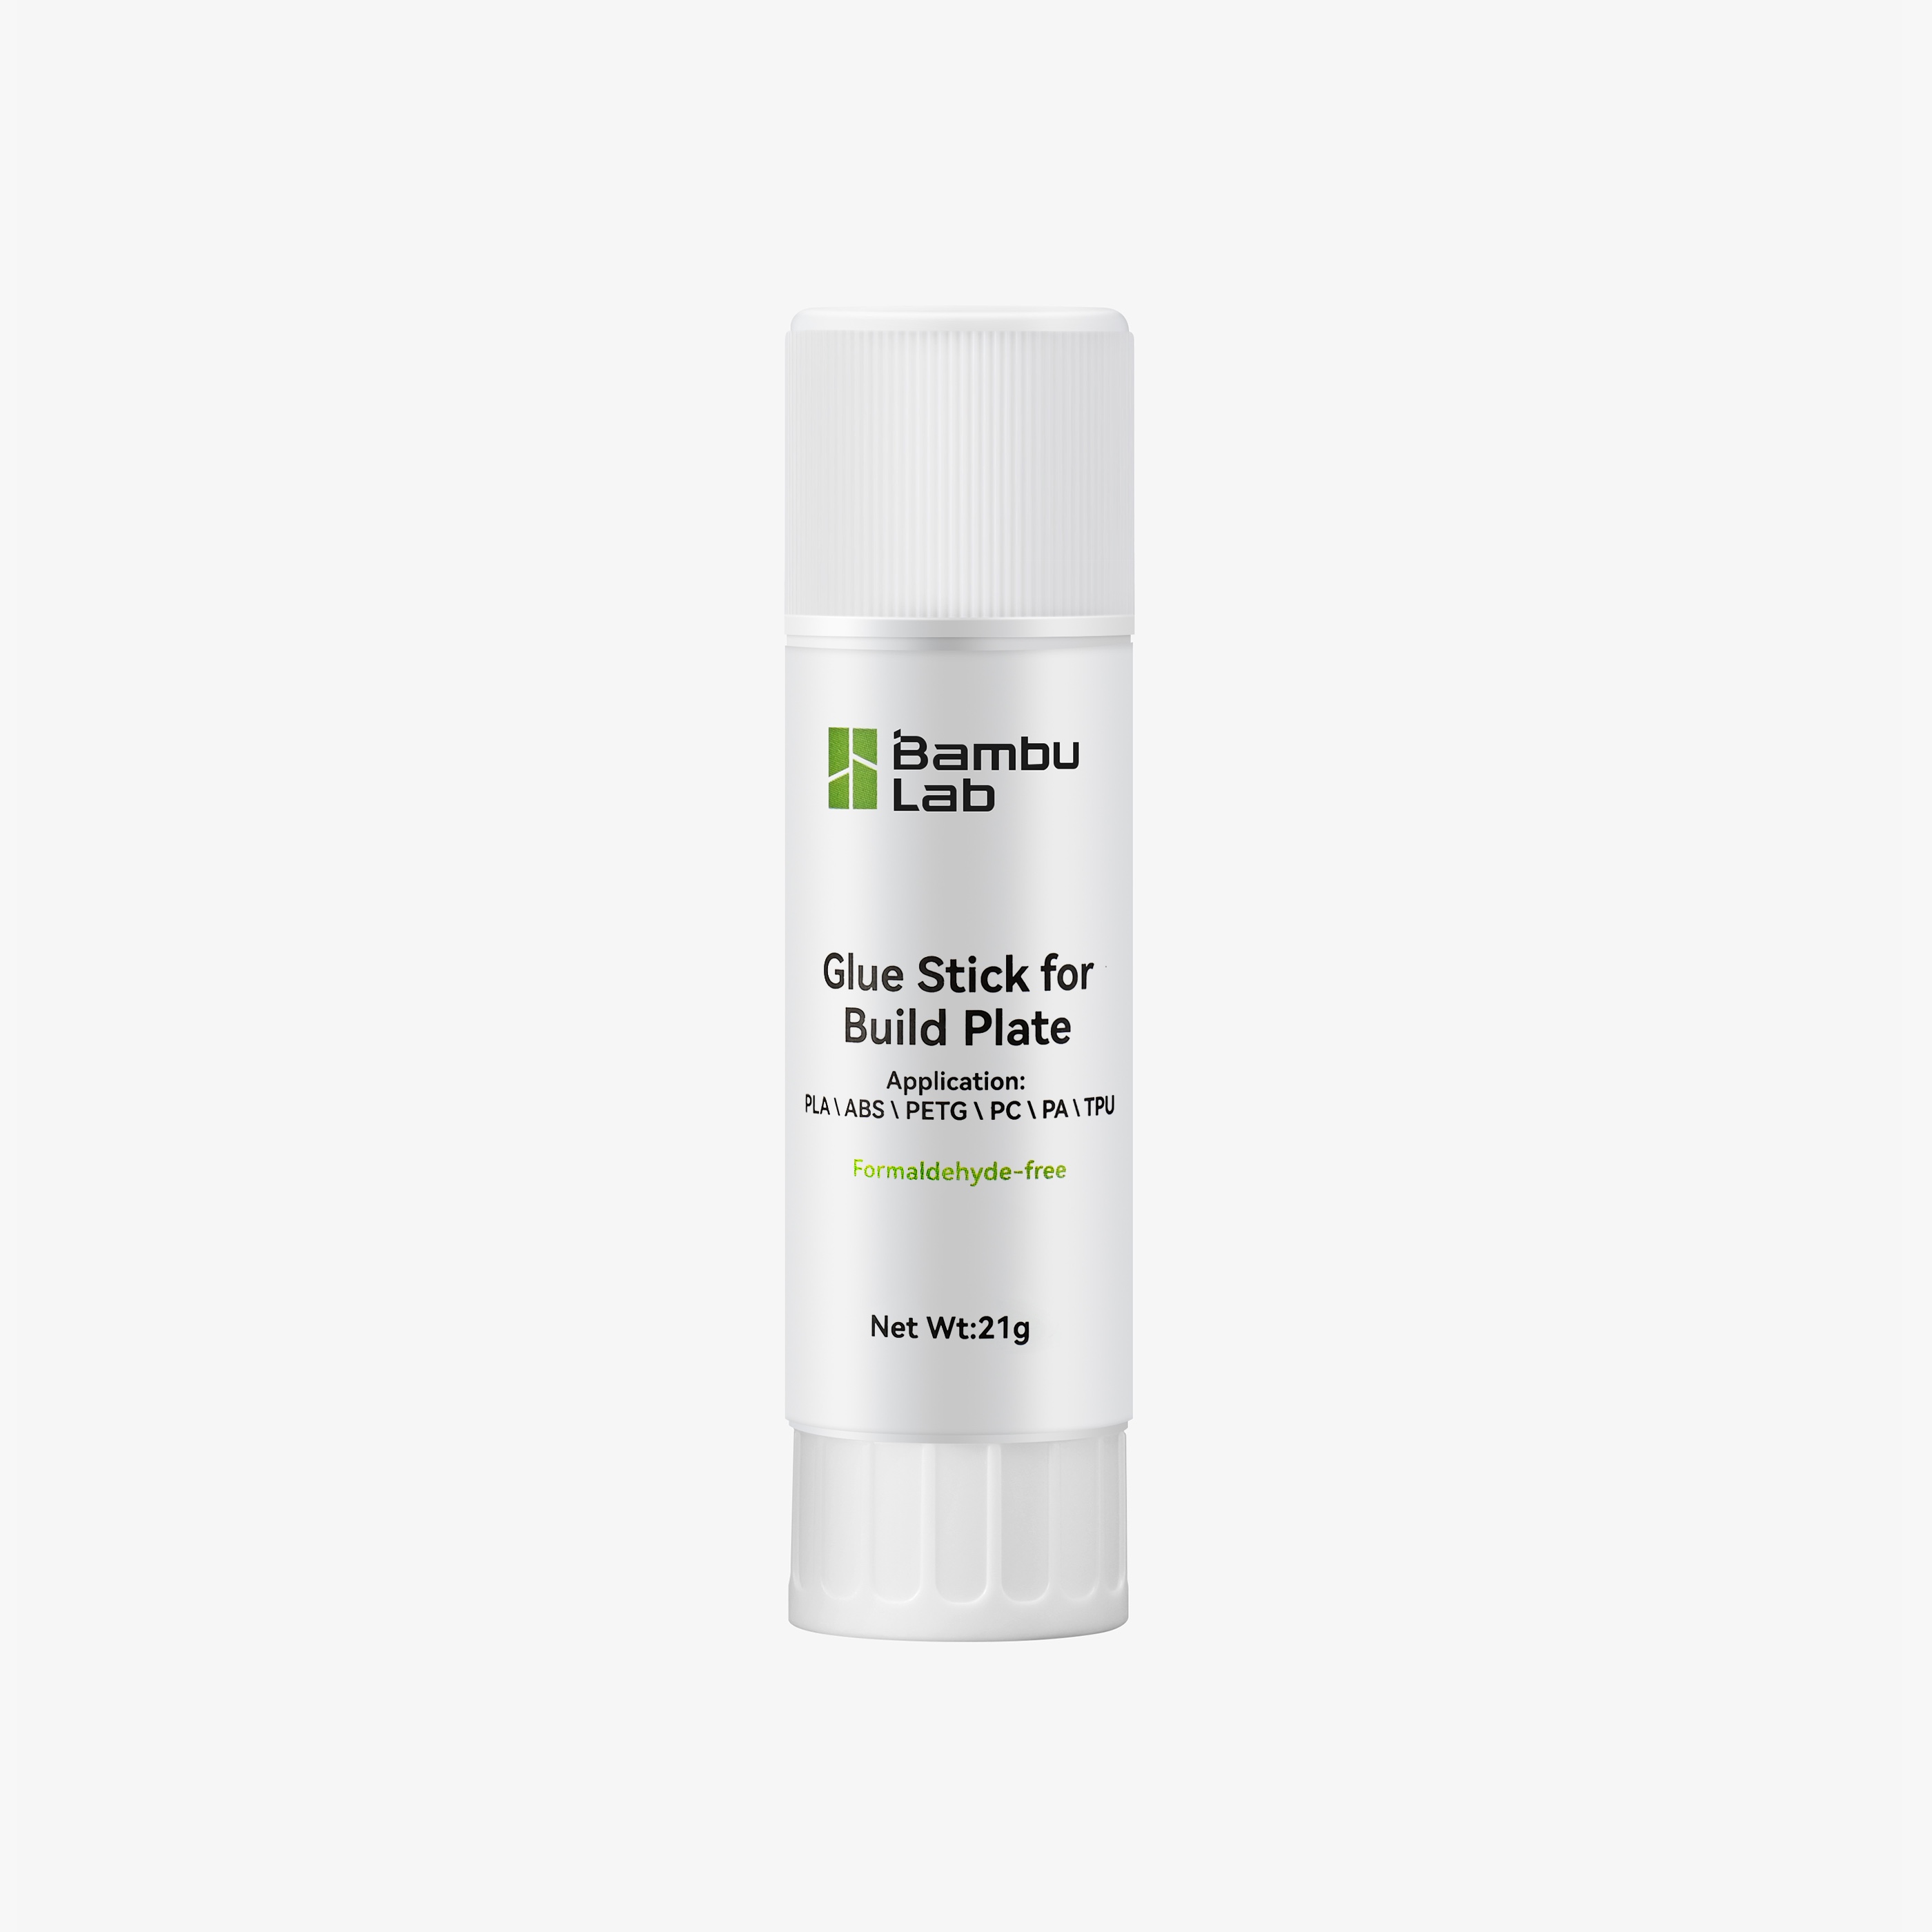
Check the model name before ordering.
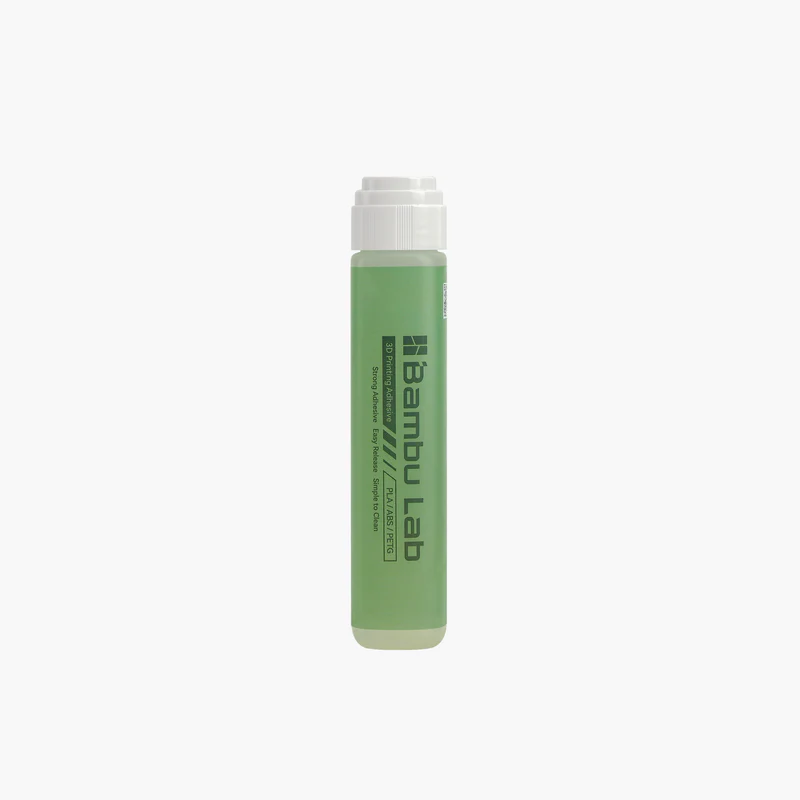
Check the model name before ordering.

Check the model name before ordering.

Check the model name before ordering.

Check the model name before ordering.
Still stuck? Get in touch through our contact page with the details listed above and we will take it from there. If the machine needs hands-on work, see our services and training page for what our workshop can do.
If you are chasing surface finish, stringing, brittle filament or extrusion problems rather than adhesion, our material and print quality guide is the better starting point.